There is a lot to this question and it is a good question.
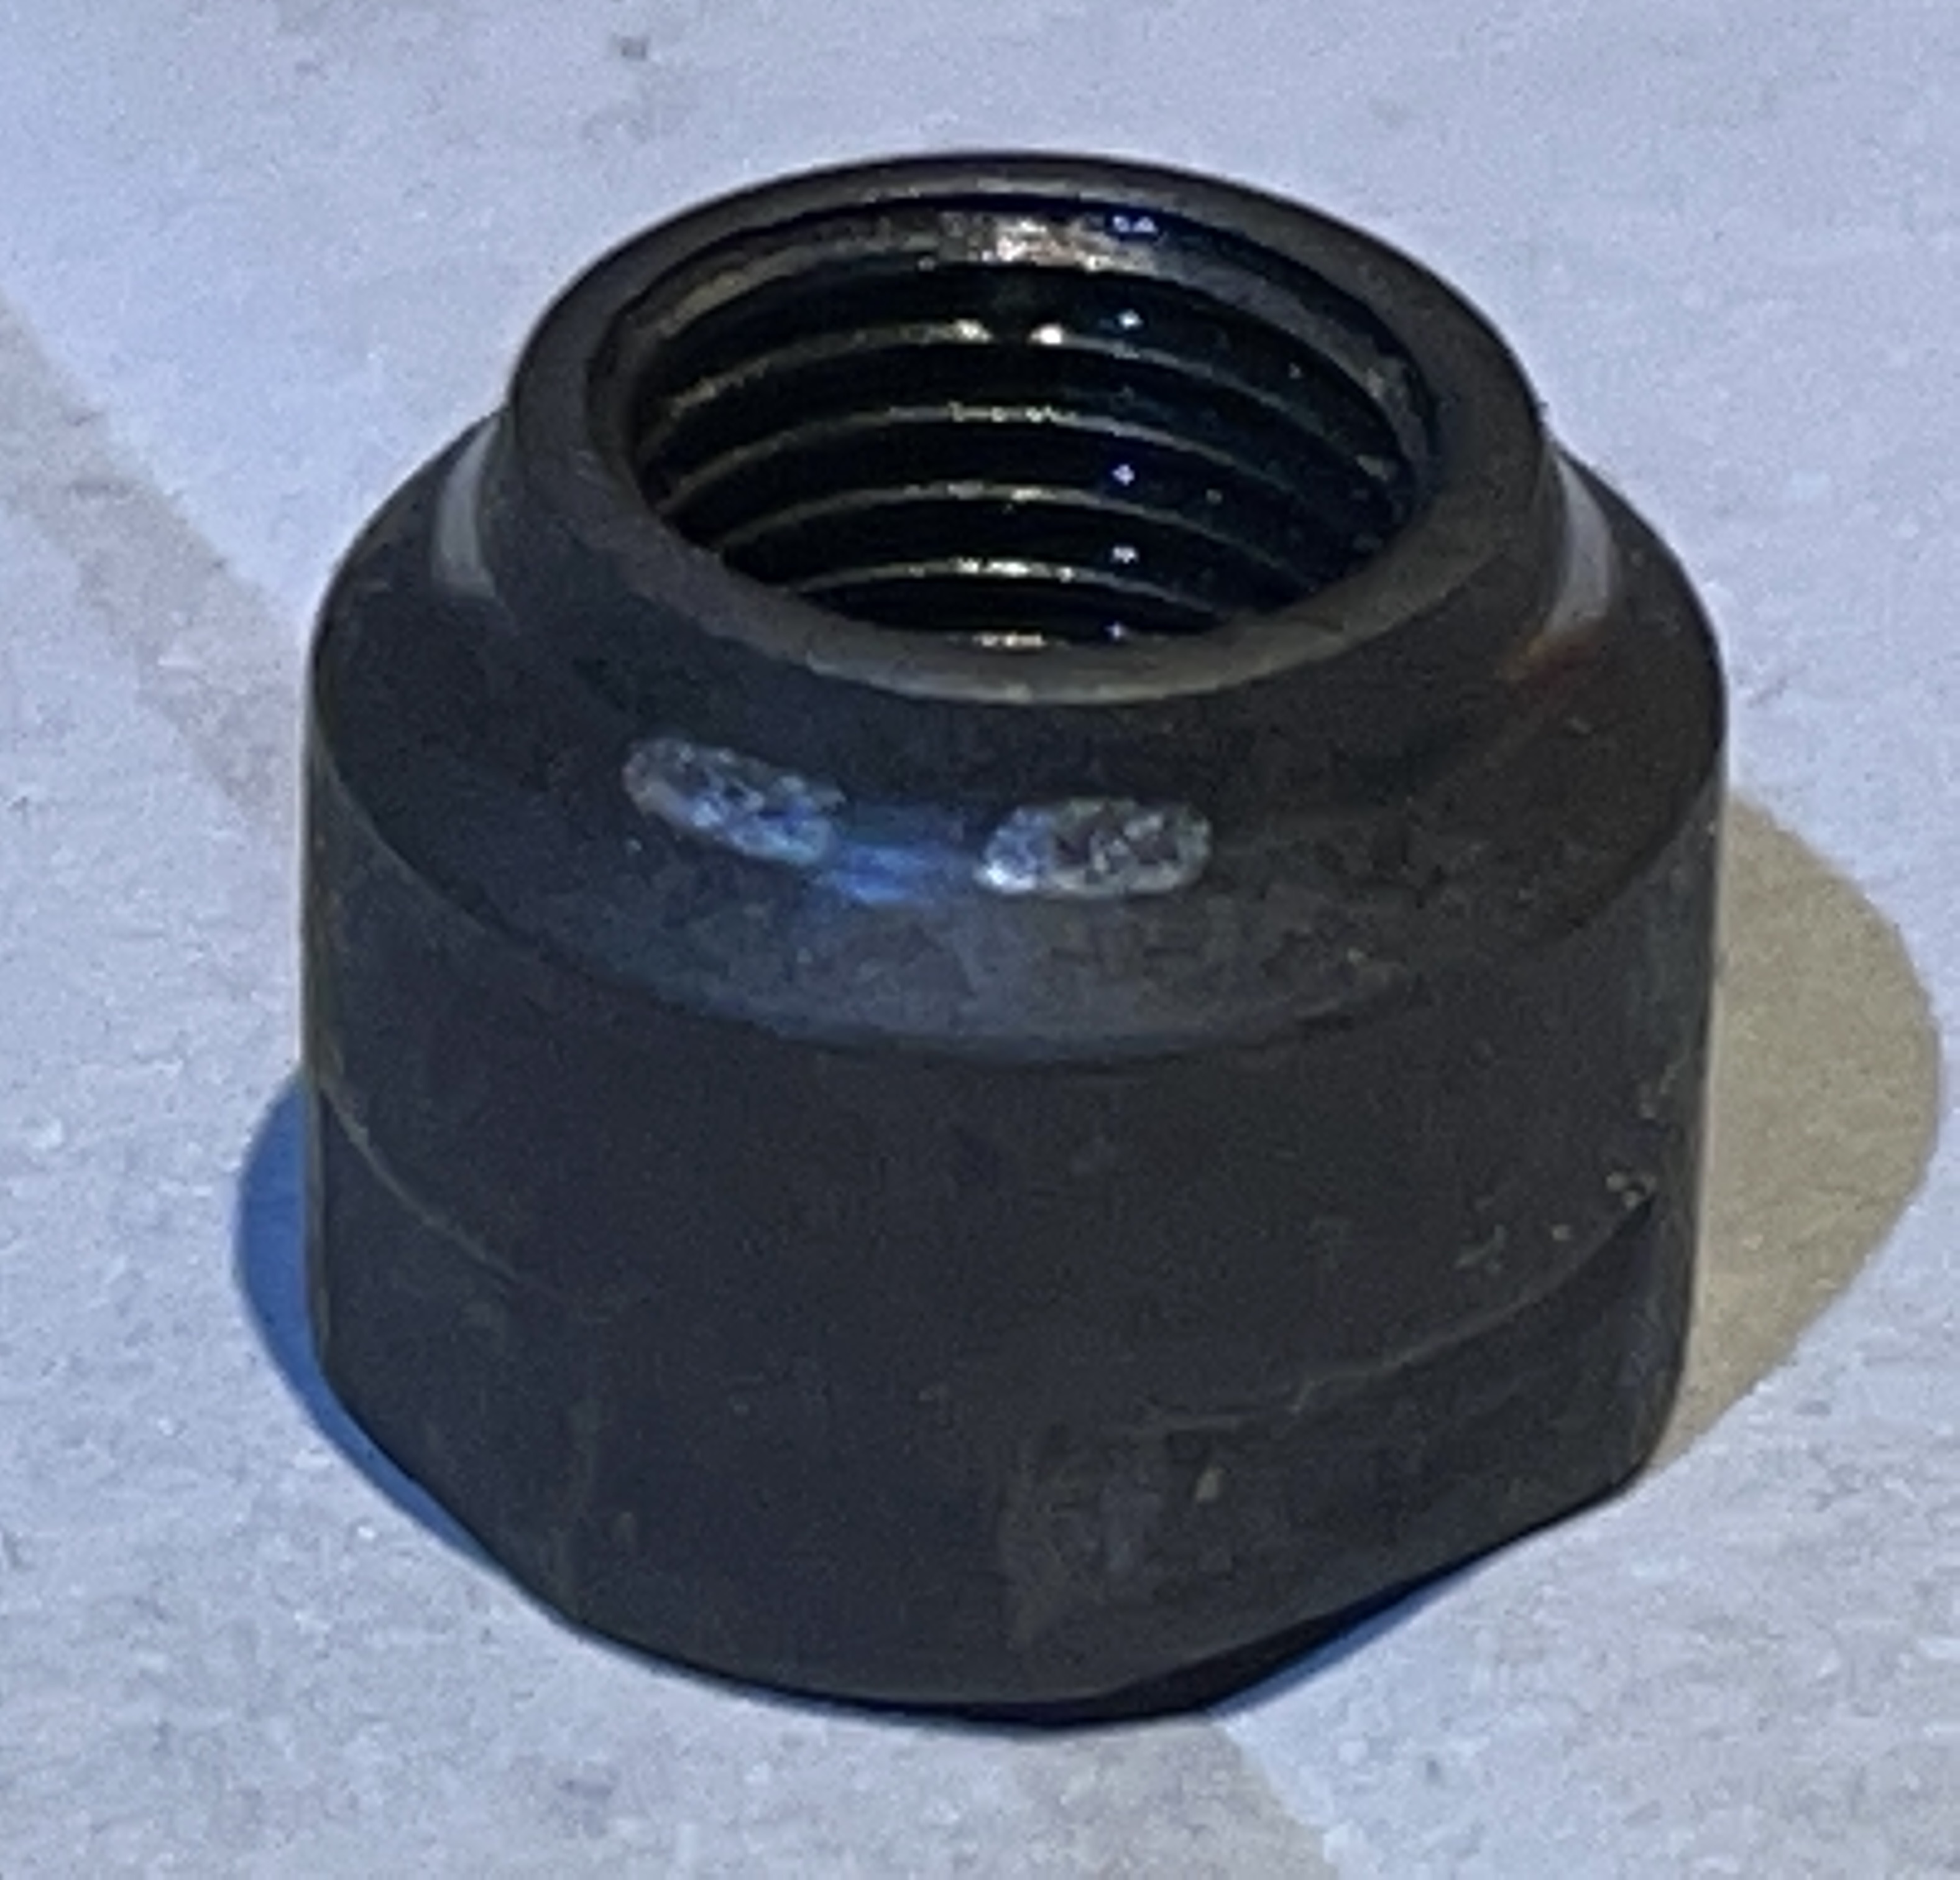
One of the things that make a complete answer difficult to give is that there have been a vast number of cones in the history of bikes, which is pertinent because one group who would be concerned about this question is people restoring old bikes. But, another aspect to the question whose importance can't be understated is that if you're only looking at, say, cones from Asian hubs of the last 20 years, a lot of the time they're going to be from the same 3 or 4 major producers (Joytech, Formula, KT, etc) whose products are sold under many brand names. The really big producers of commodity-level hubs have major impetus to re-use the same cone designs, and playing off of that fact is a path to coming up with a matching replacement in many instances.
The most basic principles of matching cones are:
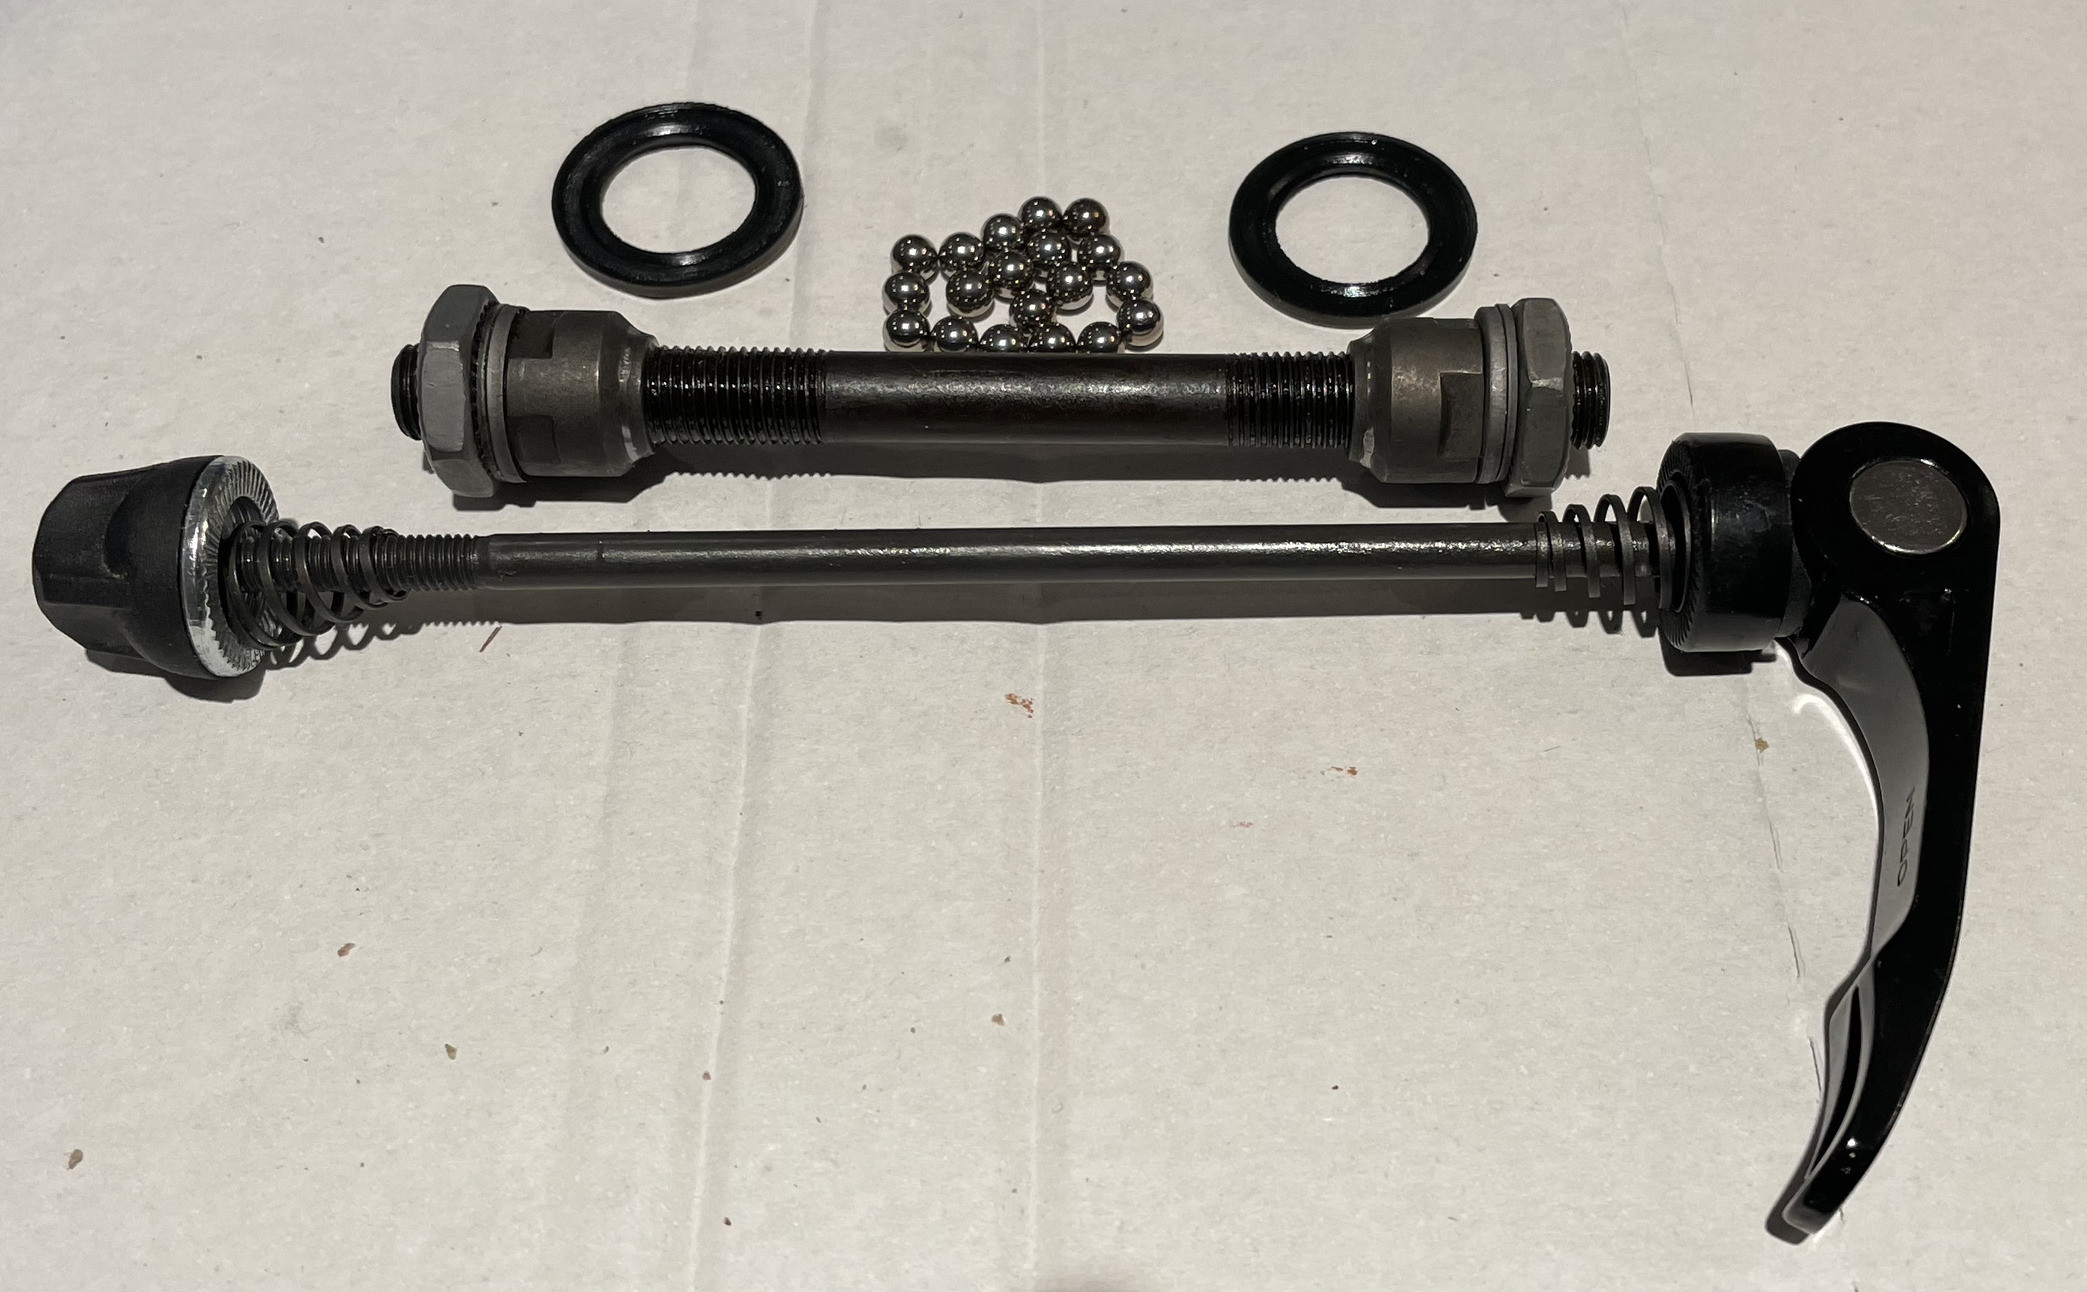
- Get the intended ball size right, which is usually 3/16" for a front and 1/4" for a rear
- Get the contour mostly right, but close enough is acceptable. You test this by holding new against old and finding something where the profile comes close to matching, assemble the hub with grease, put the cone on, spin it, and see where the ball track is landing. You want it somewhere in the middle band of the ground part, analagous to where the stock one was. You don't want it flirting with running off the edges. Some bias off to one side is okay, but note that it affects spacing which you'll then have to go back and correct with spacers.
- Get the factors that affect sealing and fitment of all the parts right. This means that for example, if the original uses a pressed metal seal, the new one has to be the right OD to transplant the seal on to it. Or if there are rubber seals, the new one has to interact with them correctly, allow them to be at the right spacing away from the locknut, etc. There are various ways that a cone that was too long or thick could screw this up.
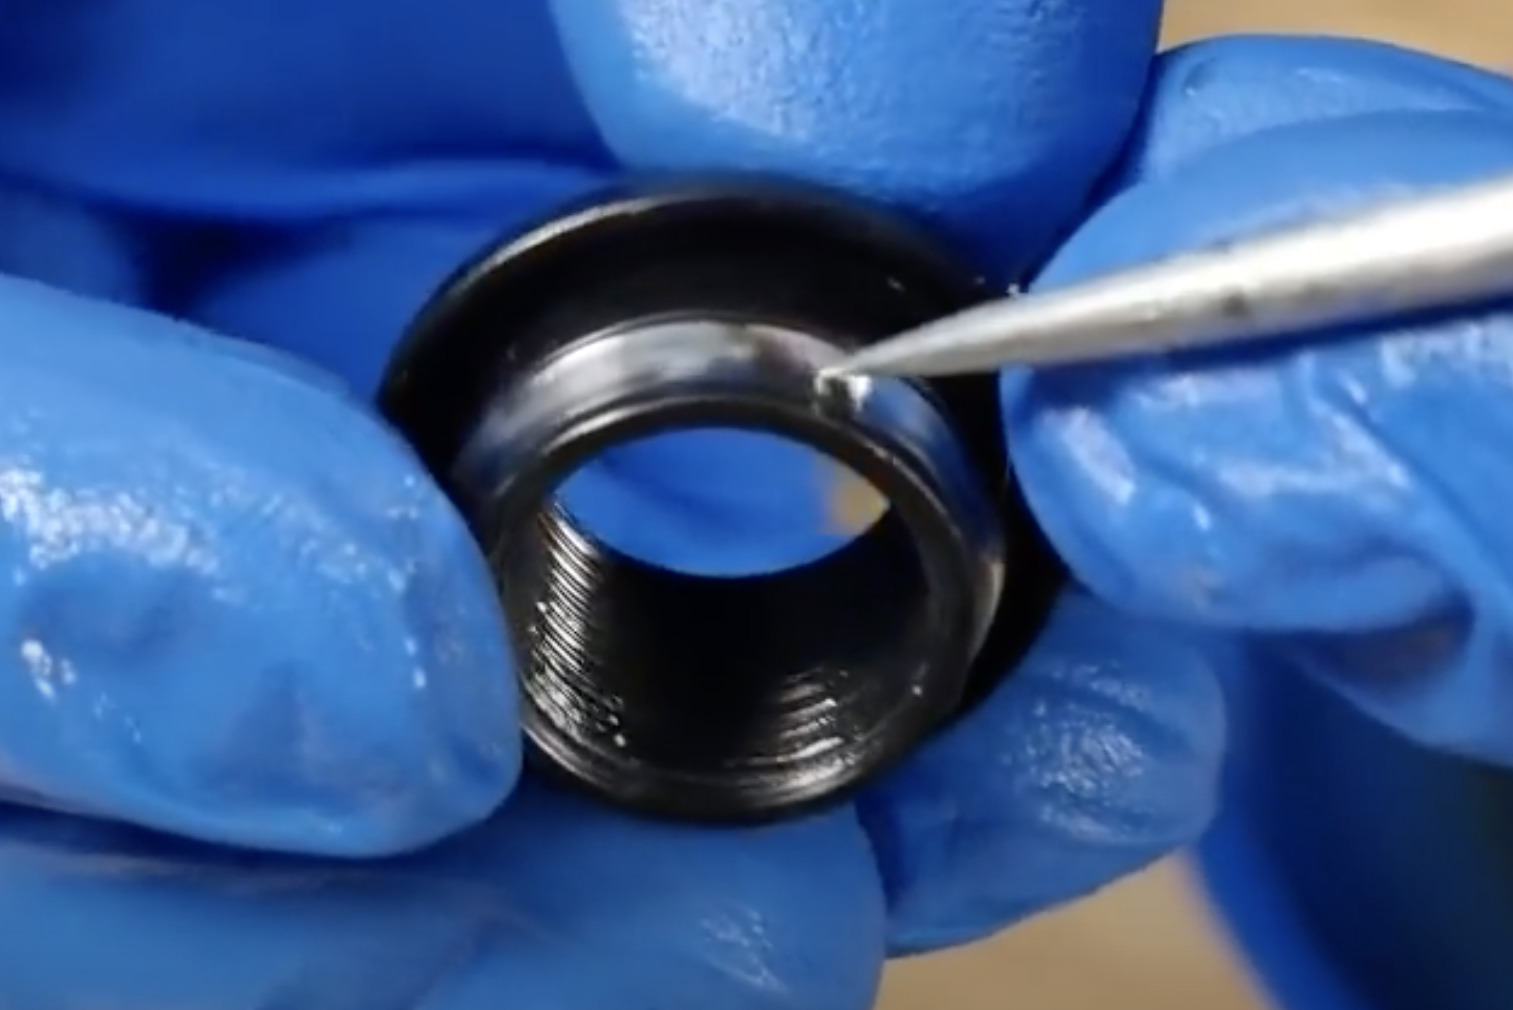
Repairing cones by sanding or grinding them is a good approach in many cases. To do it, all you have to do is secure the cone and locknut on to a a straight axle in similar position to how they would be on the assembled hub, except give the protruding end of the axle enough length to secure in a drill chuck. Get a dowel or screwdriver shaft that's a little smaller diamer than your bearing, clamp it in a vise, wrap in sandpaper (or just hold up your sandpaper or other abrasive paper/cloth to it) and start grinding. Use successive grits and/or polish if you want to be fancy. This is a way of repairing moderately damaged cones only. Deep pitting or uneven wear (such as from a bent axle) can't necessarily be fixed this way. It's an analog skill although there are ways more precision could be introduced to it. In my experience, it appears that the hardening on most cones is done in a way that goes suitably beyond the surface that one can ignore concerns about getting through a hardened layer (as in case hardening). There may be exceptions to that out in the world, especially since case hardening used to be more common in different fields as I understand it - I've been curious for a while about how this applies to restoring old cones in this way but I've had a hard time finding information about it. By and large, just resurfacing what you've got is an excellent way to go in many cases.


