19

I want to make a bike cargo trailer. It seems to me that making the hitch will be one of the most difficult parts so I opened a separate question for this.

How would you attach the trailer to the bike? Would you attach it at the seatpost (high) or near the wheel axle (low). How would you allow the trailer to pivot both up and down and side to side?

See also: How to make a cargo trailer.

9 Answers 9

11

I would also go the commercial route, buying the hitch and building only the trailer itself. The handling (during cycling) of an axle attached trailer is much better than if you attach it on the seat post. Handling is best if the hitch parts can move as little as possible relative to each other. The Chariot hitch is pretty good, especially considering the fact that only one axle/quick release module fits a wide range of dropout designs.

Still, everything can be improved: The German company Weber makes a hitch system with the following highlights:

  • extremely rigid connection
  • very simple and fast to use
  • fits most frames perfectly by providing different frame/quick release attachment parts, even for geared hubs etc.
  • fits basically any drawbar, by providing inserts for any commonly used tubing size
  • can easily be locked (although the lock won't scare a good lock picker)
  • an integrated bike stand is available
  • quality and safety are top notch, and the parts last a long time

Weber bicycle trailer hitch diagram

Weber hitches are easy to get hold of in Germany. It should be possible to get them exported to almost everywhere. Unfortunately the information is in German only, and the system is rather complex with all the different frame and drawbar fittings.

6

I have 3 trailers and have previously owned a fourth (which was my first) each of which has had a different attachment mechanism.

You have 3 issues to address:

  1. Attachment to the bike
  2. A "quick" release mechanism so you can, if you want, separate the bike from the trailer
  3. Achieving a universal joint of some sort (or at least sufficient degrees of freedom to avoid any unpleasantness

The crudest connection I have is for my shopping trailer (a Christiana from Denmark) - this is a substantial lump of stiff rubber that has a hole for the seatpost and a long "tongue" that goes to the trailer drawbar over the back wheel of the bike, there's then a pin through the drawbar to hold it in place. This is not a particularly elegant solution, but it works. You get rotation of the rubber round the seatpost and then both up and down and twist from the rubber tongue. I've managed to put the trailer on its side with a combination of a pothole whilst being a bit too keen when the trailer was empty and the bike stayed upright...

The other three all attach to the bike around the rear axle/chainstay.

First was a Winchester child trailer which had a j clamp to go around the seatstay and, I think, something springlike to provide the articulation - not quick to attach/detach but pretty effective when on. Contemporary trailers often use "Weber" connection components for which are, I believe, available for purchase.

Third is the attachement for our Bike Friday Triplet - a plug and socket arrangement, plug clamped very firmly to the rear seat stay and the socket on the draw bar. Right here, right now I can't remember how it articulates (but it does).

Second - and last because its by far my favourite (simple, elegant and effective!) is for my Radical Cyclone. Bike end is a ball on bit of bent metal that goes over the rear axle and is clamped in place by whatever holds you back wheel on already. Trailer end is a polymer cup with a sprung steel cap to hold it in place. You can see both on their accessories page. I've used this trailer for touring - you barely know its there apart from the fact that you go more slowly (even more slowly in my case).

All of the above work more than adequately well. Articulation can be provider by a ball and socket, by a universal joint - multiple "hinges" (this is how a BoB trailer works horizontal through the axle, vertical at the trailer and no need for "twist" to cope with the lean of the bike as its single wheel and therefore will lean with the bike) or by having something that will physically bend and twist (spring, rubber).

4

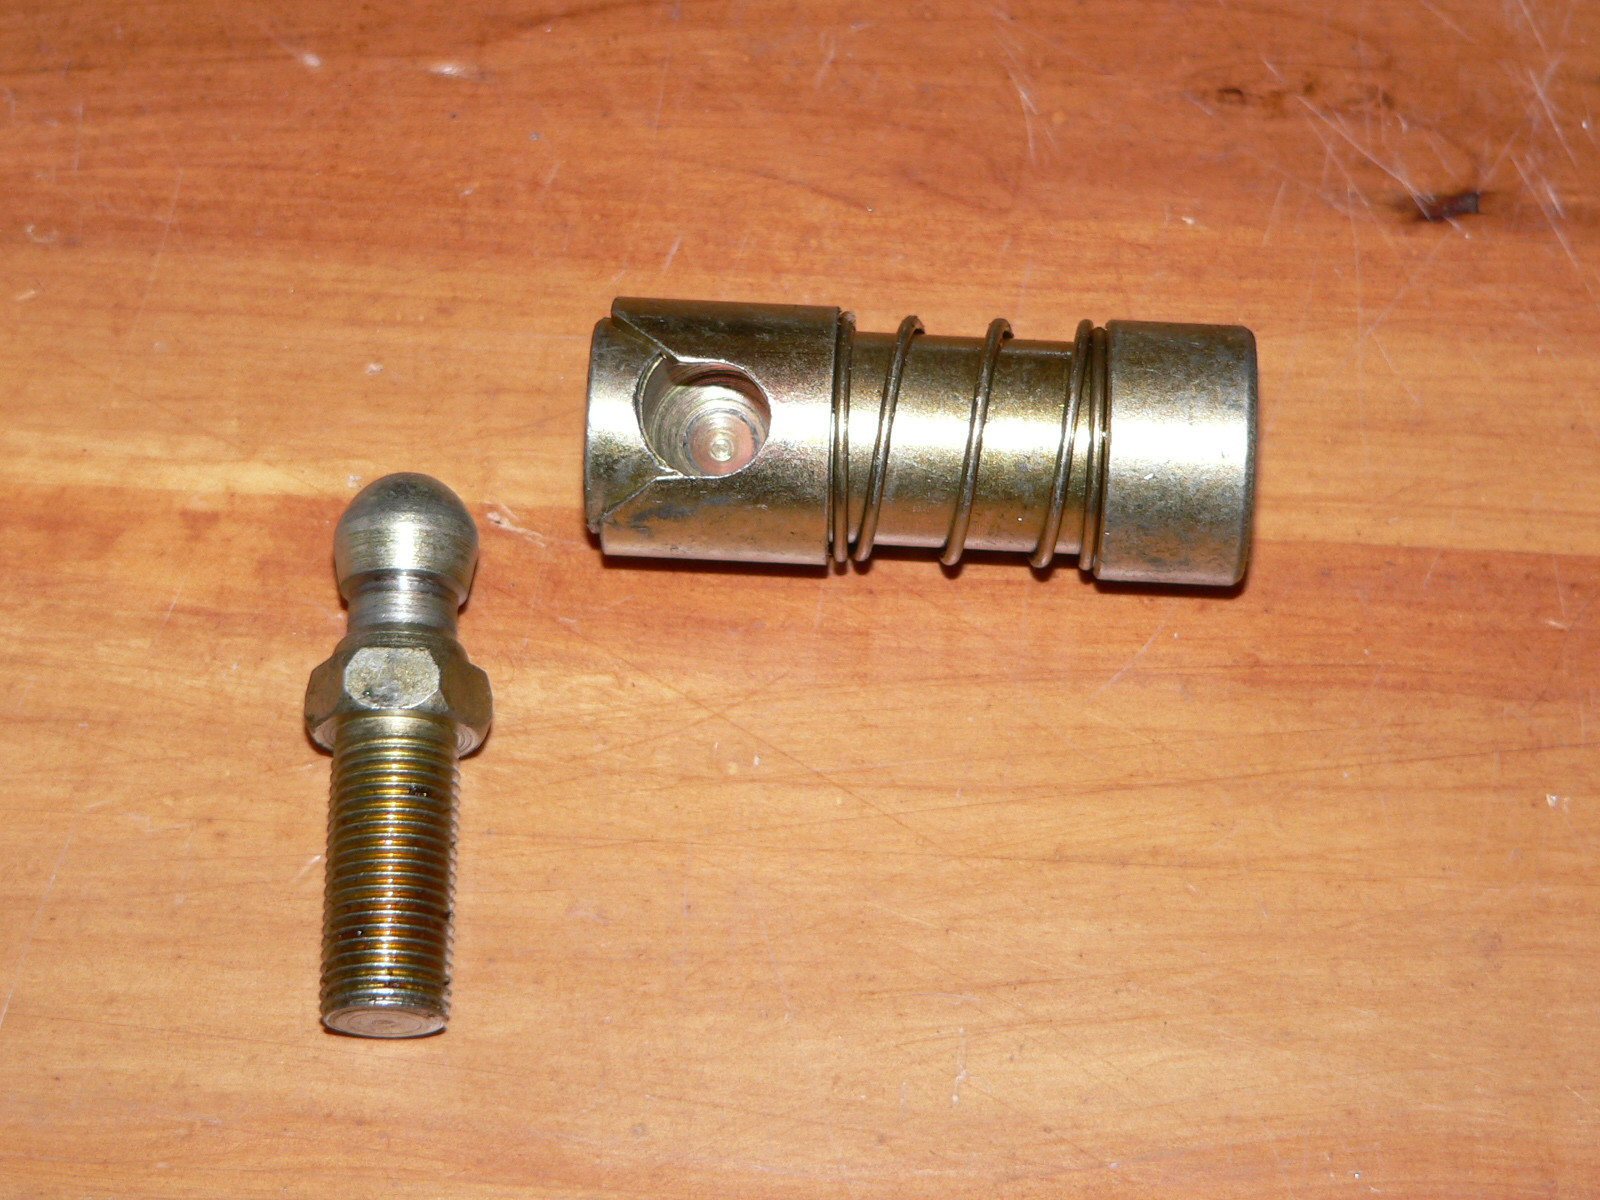
Here's what a local chap makes and sells.

enter image description here

More pictures here http://www.cycletrailers.co.nz/html/hitch.html

The ball is 1/2 inch, so based on that you could mill up and fab your own. However for only $30 NZ its not even worth trying.

1
  • 2
    Note that those break if the bike pivots through too large an angle, and that's inherent in the design. The bracket that goes under your axle nut (not shown) will either twist under the nut (loosening it!) or the hitch will break - I've seen the latter happen once the nut was tight enough to prevent the former.
    – Móż
    Commented Mar 28, 2016 at 23:35
4

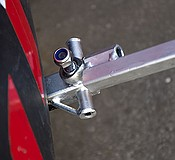
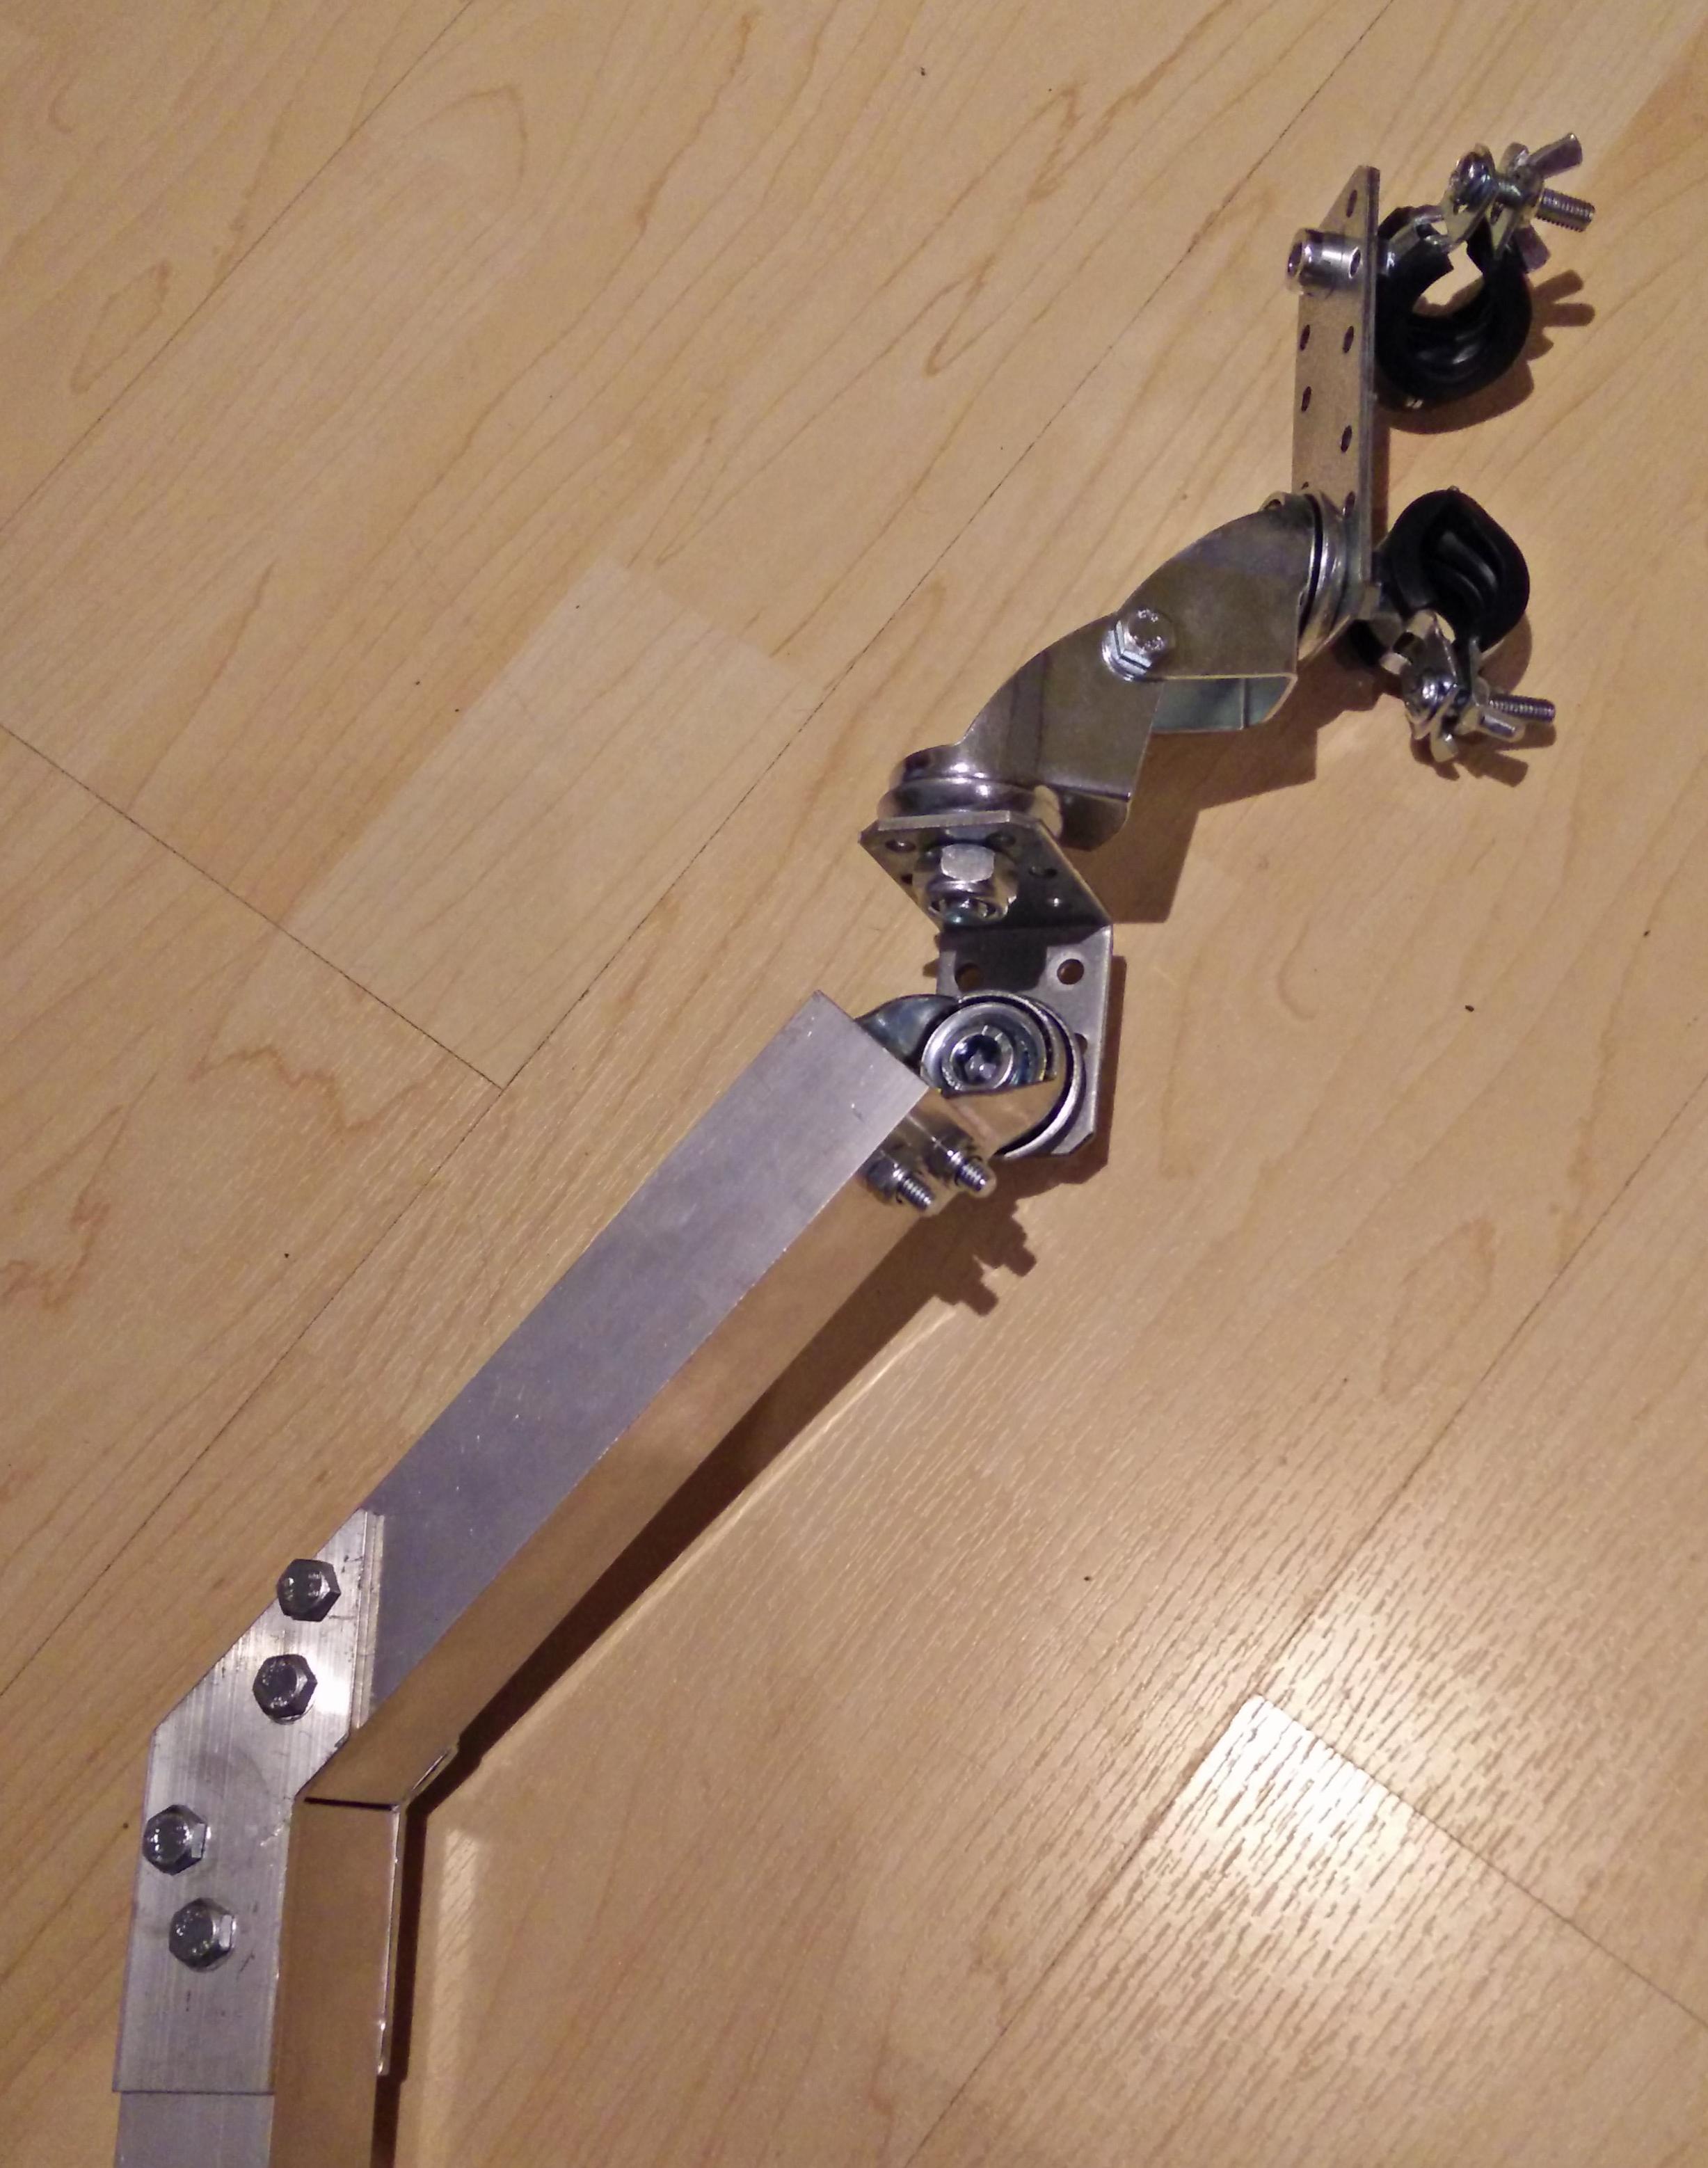
Based on a design I saw on the net some time ago, here’s mine (now briefly tested on the road):
custom trailer hitch

It attaches near the wheel axle, to the left chain stay and saddle stay. (A single clamp would pivot around the chain stay, so I added a second clamp linked to the first one with a connector, which keeps the first clamp from moving.) The design could easily be modified to attach to the saddle post, but I wanted to keep the baggage rack free, and some sources claim stability is better with a low-mounted drawbar.

The clamps are standard pipe clamps; I just replaced the threaded tongues with wing nuts so no tools are necessary to attach or detach the trailer. I left the rubber part in place to protect the paint of my bike. There’s a bit of give between the hitch and the bike, but it doesn’t seem to be a problem so far. Nothing is mounted permanently on the bike, so the trailer can be attached to pretty much any bike.

The rest are three swivel casters (one each for the yaw, pitch and roll axis). The wheels were removed as we just need the ball bearings. There’s also a right angle connector between the pitch and yaw axis. For the draw bar I took a square aluminium tube and cut two slots into it, then slid the fork of the swivel caster into it and secured it with a screw, using the existing hole. I needed to drill a second hole to prevent the assembly from bending at the joint (which otherwise happens easily, as the link needs to support the weight of the trailer). This does not seem to be a problem with the pitch/roll swivel casters, although a similar two-hole solution could be constructed here.

The draw bar has a 45° bend in it and attaches to the left side of the trailer (not shown in the picture). The trailer was built using two front forks; the draw bar slides over the shaft of the left fork and is secured with two screws.

All nuts (except for the wing nuts) are self-locking. For the bolts that go into the clamps I used Loctite to prevent them from coming off. For the screws that have the wing nuts on them I might do the same, or put a self-locking nut on the end. Either way I would need slightly longer screws: currently they are M6×30, I would need M6×35 (as M6×40 would get dangerously close to the spokes).

I am thinking of putting a rubber tube around the whole assembly, as the parts probably do not handle moisture and road grime very well.

5
  • 1
    Good idea - where's your safety strap ?
    – Criggie
    Commented May 14, 2018 at 20:14
  • Clever using the caster swivels -- they're well equipped to take the stress. Commented May 14, 2018 at 23:10
  • @Criggie this is where it gets interesting. Safety straps are common on child trailers (=immediate danger to life and limb of passengers if the hitch fails with no backup in place) with an easily detachable hitch (=risk of trailer being used with an improperly engaged hitch = dramatically increased risk of failure). The strap goes from the bike to the drawbar, as a backup connection between both sides of the “vulnerable” link. What would you consider the weakest link in my design? And is it weak enough to require a backup (considering that it is for a light cargo trailer, not a child trailer)?
    – user149408
    Commented May 17, 2018 at 21:46
  • 2
    @user149408 Its not just the value of your load, its also the risk to other roadway users should something come adrift. Better to restrain a loose trailer than let it run off. I think there are perhaps 4 positions where there is one single bolt, whereas other parts in the pipeline have at least two bolts doing the same thing. If a strap is unappealing, a length of chain through the drawbar and bolted to the perf-plate could be enough.
    – Criggie
    Commented May 18, 2018 at 2:33
  • I have now solved it with a loop of steel cable through the perf plate and around the two bolts with which the drawbar is attached to the swivel caster for the yaw axis. Still thinking about a gaiter to protect the parts from dust and moisture.
    – user149408
    Commented May 29, 2018 at 23:30
3

I found this solution on Instructables: http://www.instructables.com/id/Building-a-strong-flexible-bicycle-trailer-coupler/ which uses two large casters to give you a large degree of movement between bike and trailer.

3

It makes sense to me to buy this part of the setup or scavenge/cannibalize discarded old trailers.

3

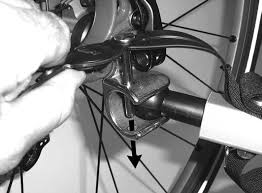
The Chariot brand trailer hitch is the best one I've ever seen, and you can buy it independent of owing a Chariot trailer. They are the safest, easiest to use, and just simplest trailer hitches you can find. You just mount it on your axle like a washer, hitch the trailer into the cup part, and slip in a retaining bolt. You have exactly no worries about the hitch coming off the bike unless the hitch arm or "lollipop" break somehow, and even then there's a backup strap.

It looks like this:

Image stolen from amazon

EDIT: Original image link: http://www.bikekidshop.com/cart/images/chariot-bike-trailer-hitch-assembly-upgrade-kit-stock-2-M.jpg

You can buy this kit for about $50 at places that sell Chariot stuff, or you can buy the parts separately. I'd go for the full kit, especially if you're building your own trailer.

1
  • 1
    Burley offers the same system available separately. I've had no issues with it and I'm assuming that it is similar quality.
    – BPugh
    Commented Oct 29, 2013 at 19:38
2

Not a full answer, but I'll get started with the attachment point part of the question:

Attaching to the seatpost is more convenient, and recommended for trailers that are carrying very little in the way of weight.

Attaching at the axle is far less convenient, as you have to bend down to attach and reattach, but can potentially carry a lot more weight.

Axle hitches also face the choice of attaching on one side (the non-drivetrain side, usually) or on both, like a BOB touring trailer does. A double-sided attachment is also going to be harder to engineer.

1
1

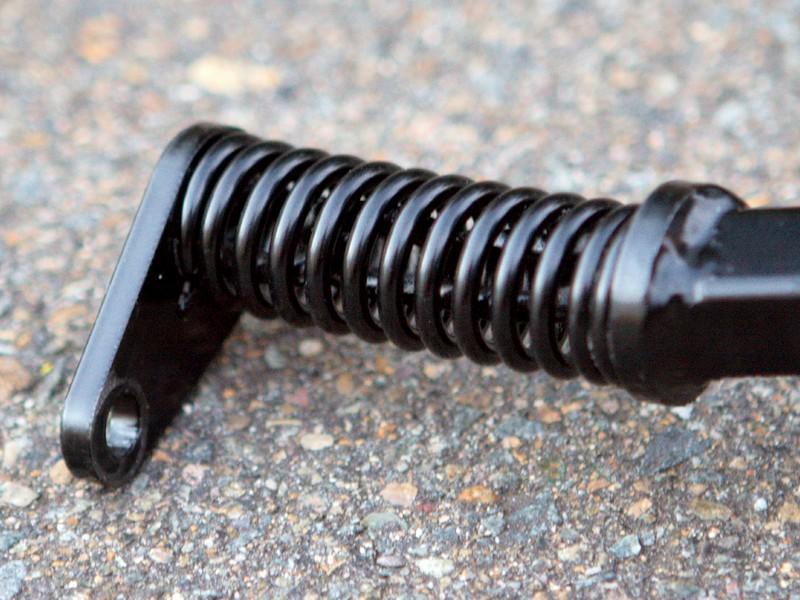
From my answer to the generic question, this spring-and-chain hitch is easy to make and very robust, although the chain will wear through eventually (>3Mm IME)

enter image description here

You do need 3 full links inside the spring to give enough flexibility, but with those the bike can fall over or you can flip the trailer round and hang the back of it over the handlebars to make it easier to lock bike+trailer. The slop is somewhat annoying when riding, you need to pedal quite smoothly to minimise it, but it's not too bad for light loads and it also reminds you that the trailer is there (people do forget), and the small amount of give helps when the trailer hits something (people do that).

enter image description here

This is a rod end bearing on a bolt, and it works well, is very rigid, but will break if the bike falls over. I have a small angle bracket that goes under an axle nut for attaching to an upright bike (rather than the 4 wheeler shown). A rigid hitch makes it easier to tow larger loads or for longer distances, but I have yet to find a rigid hitch that doesn't eventually break.

Your Answer

By clicking “Post Your Answer”, you agree to our terms of service and acknowledge you have read our privacy policy.

Not the answer you're looking for? Browse other questions tagged or ask your own question.