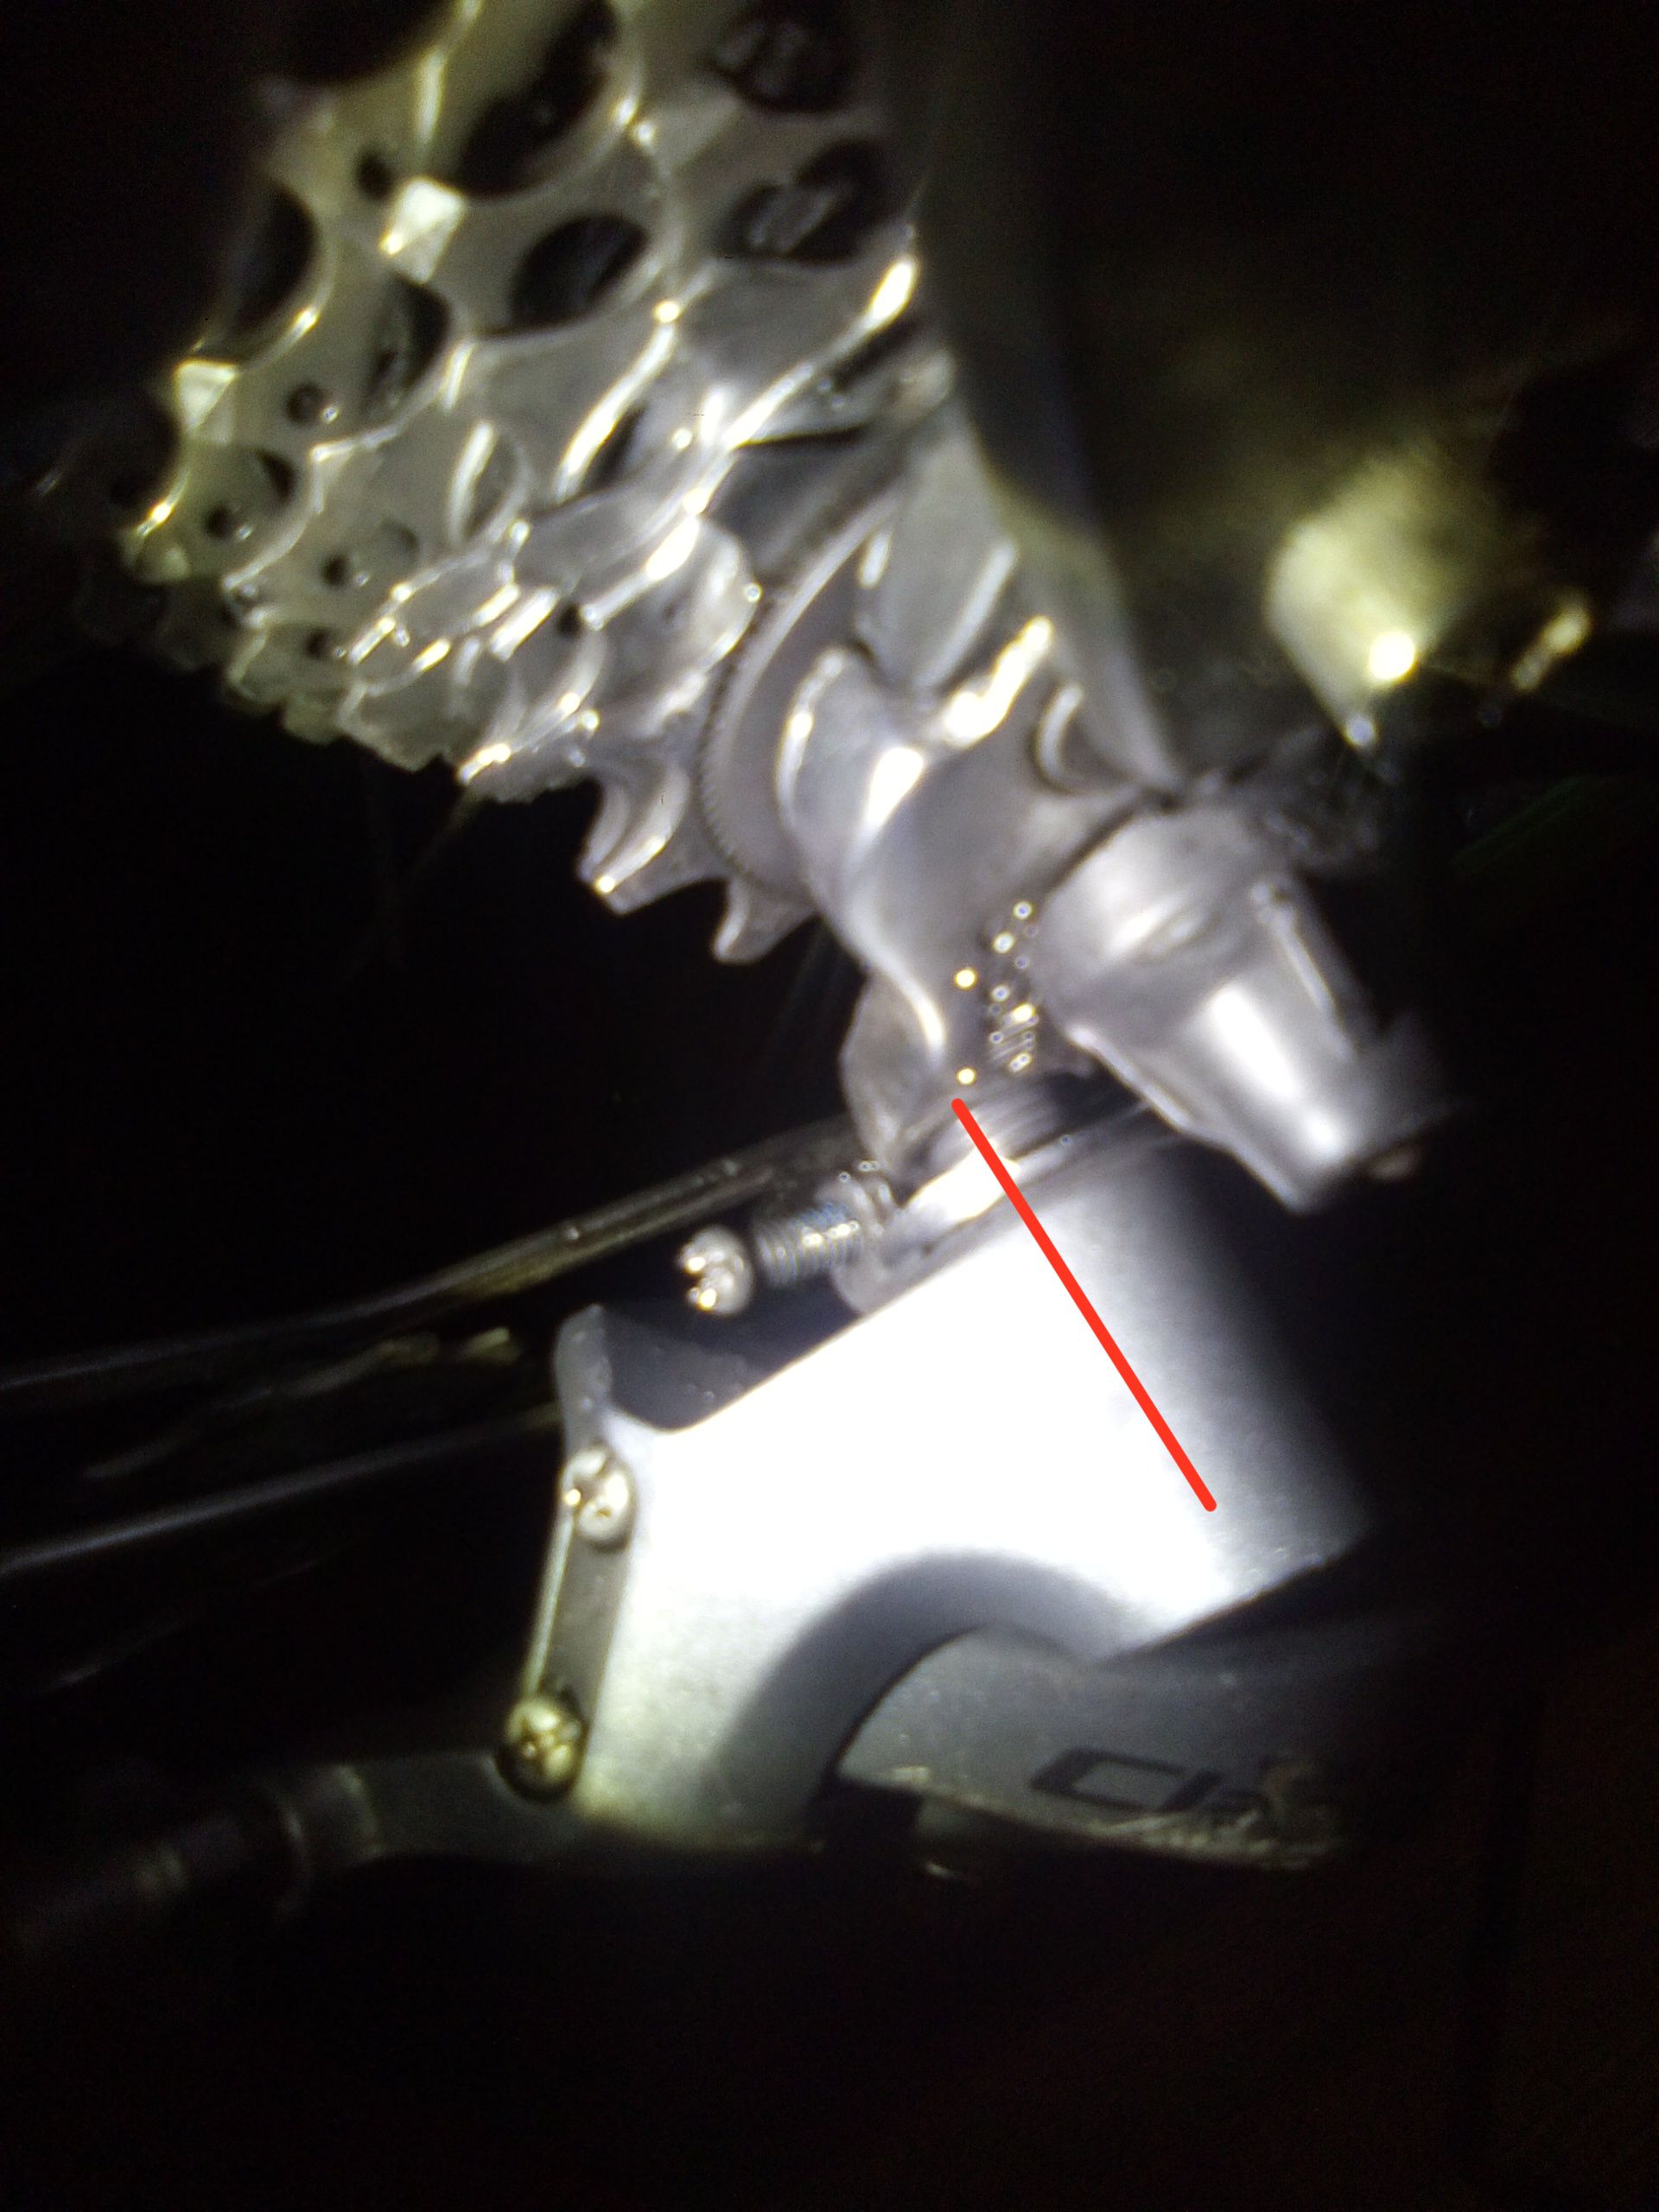
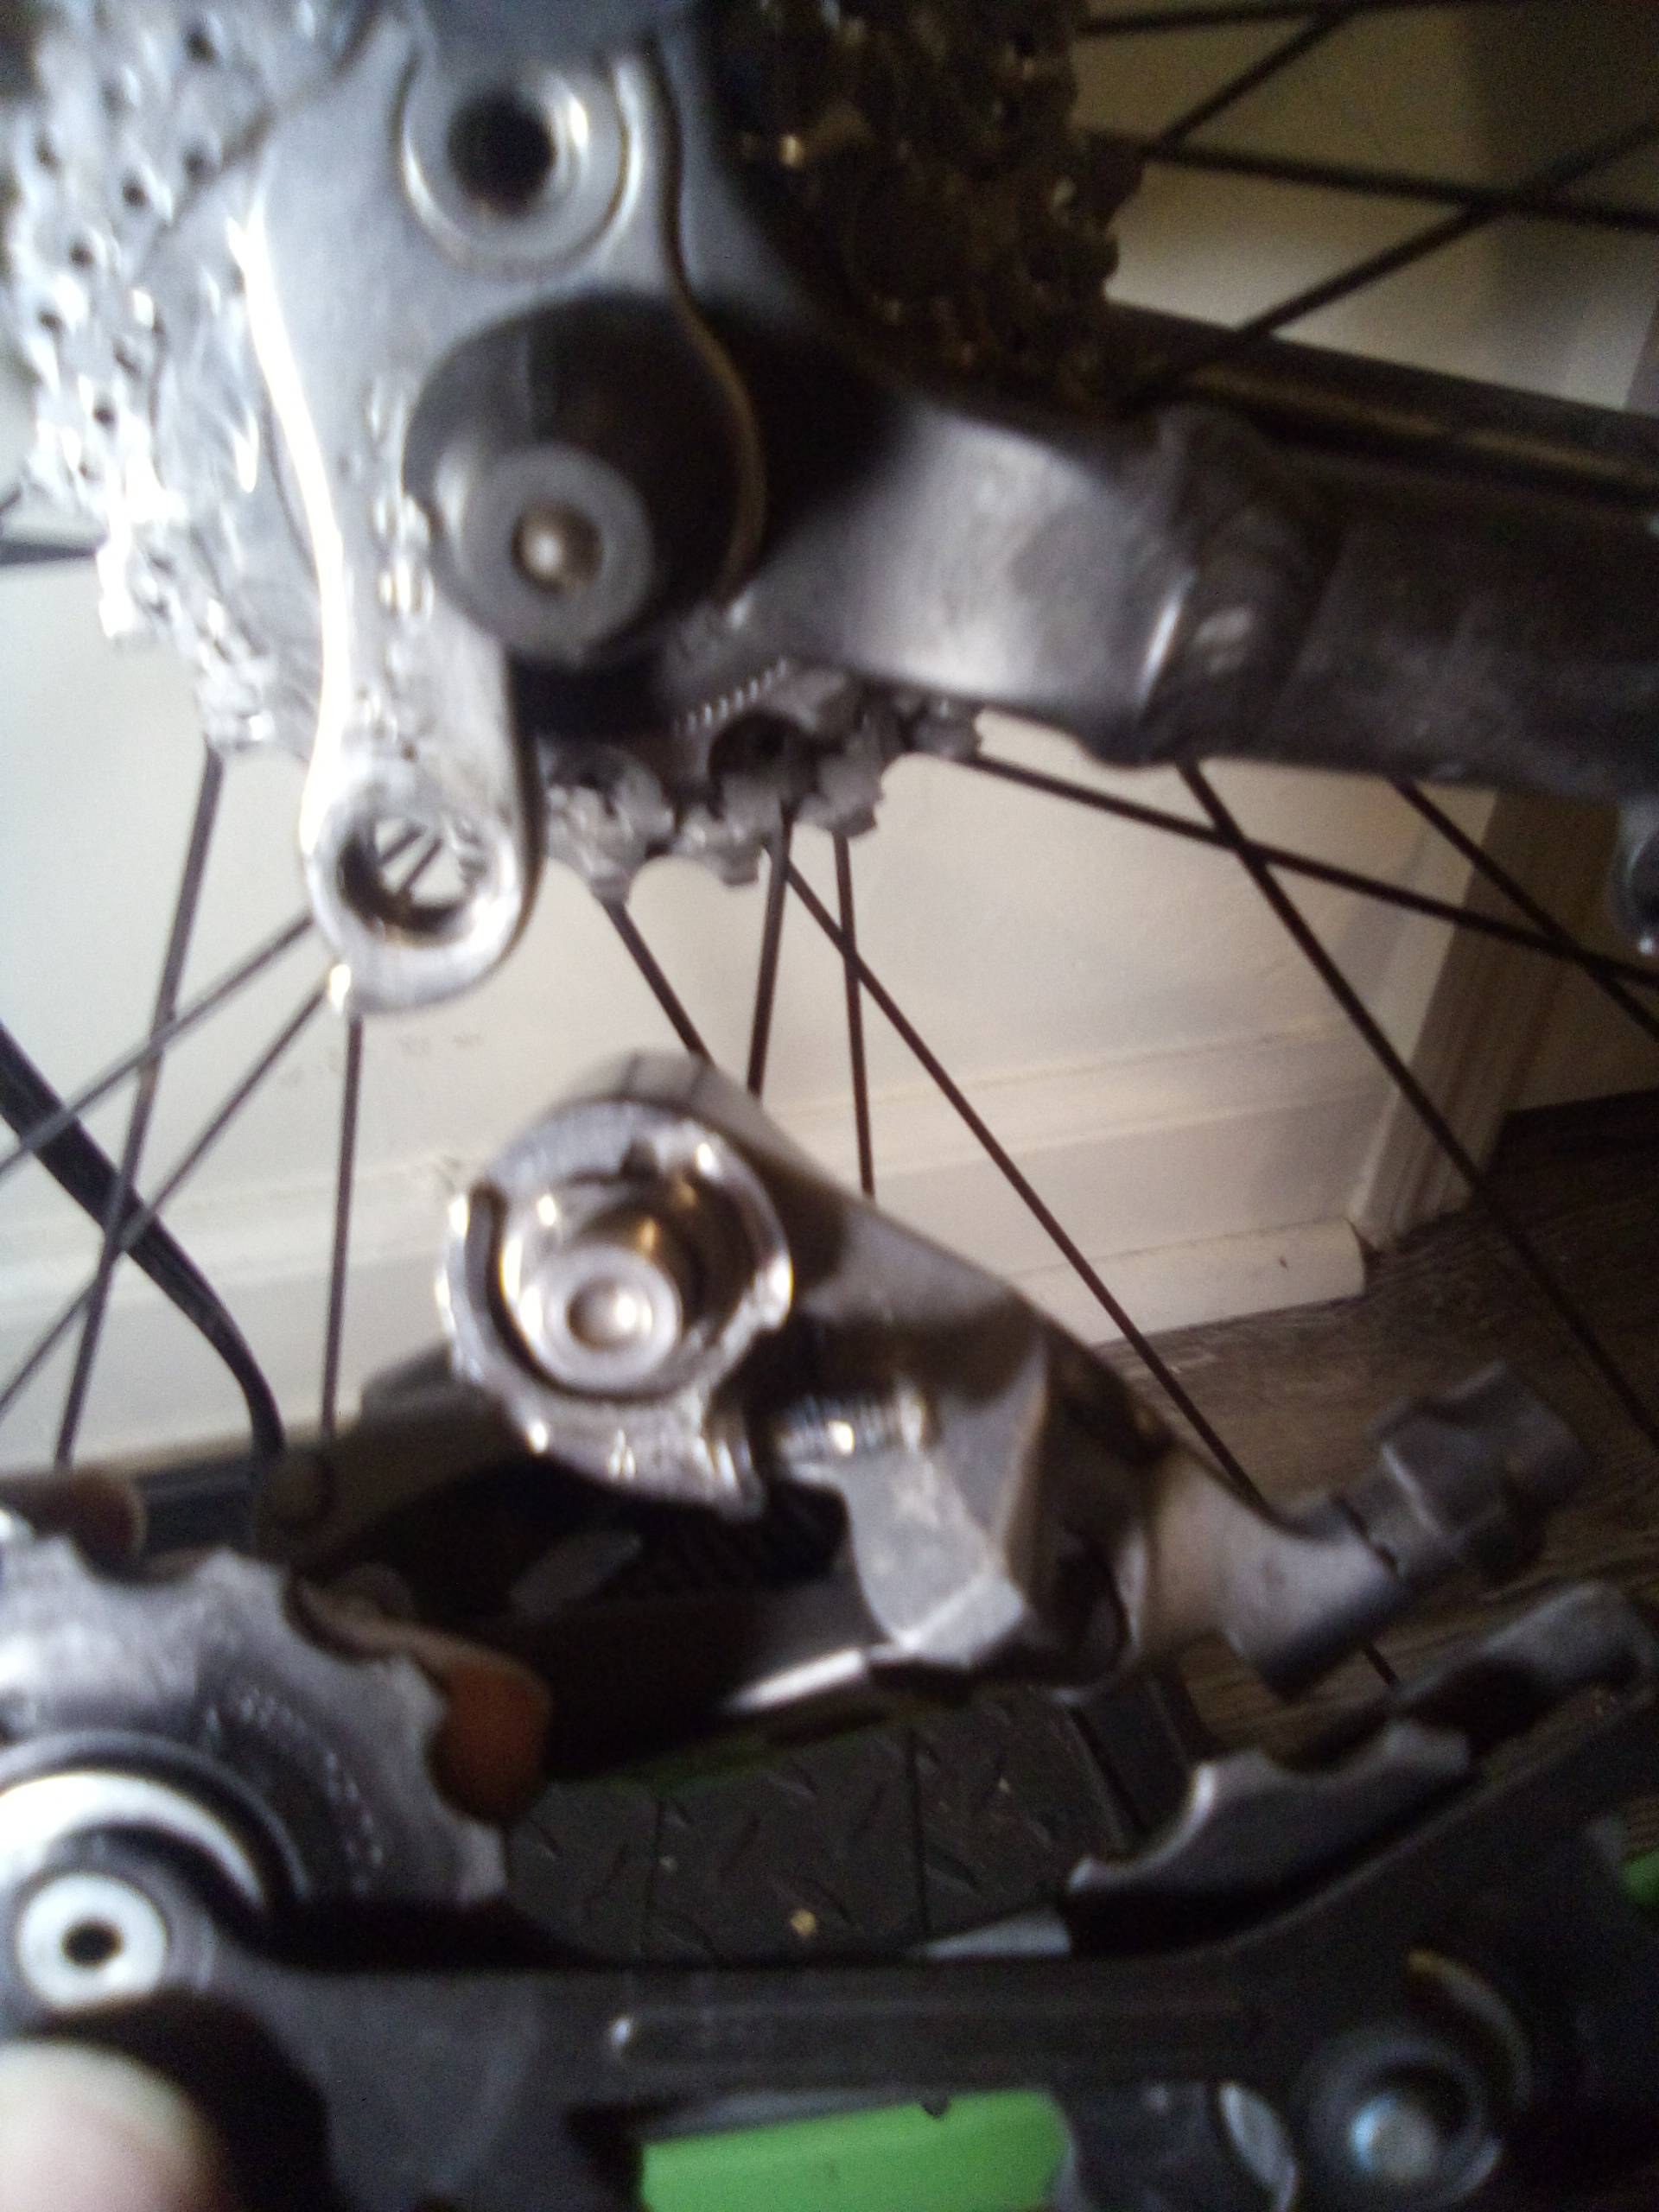
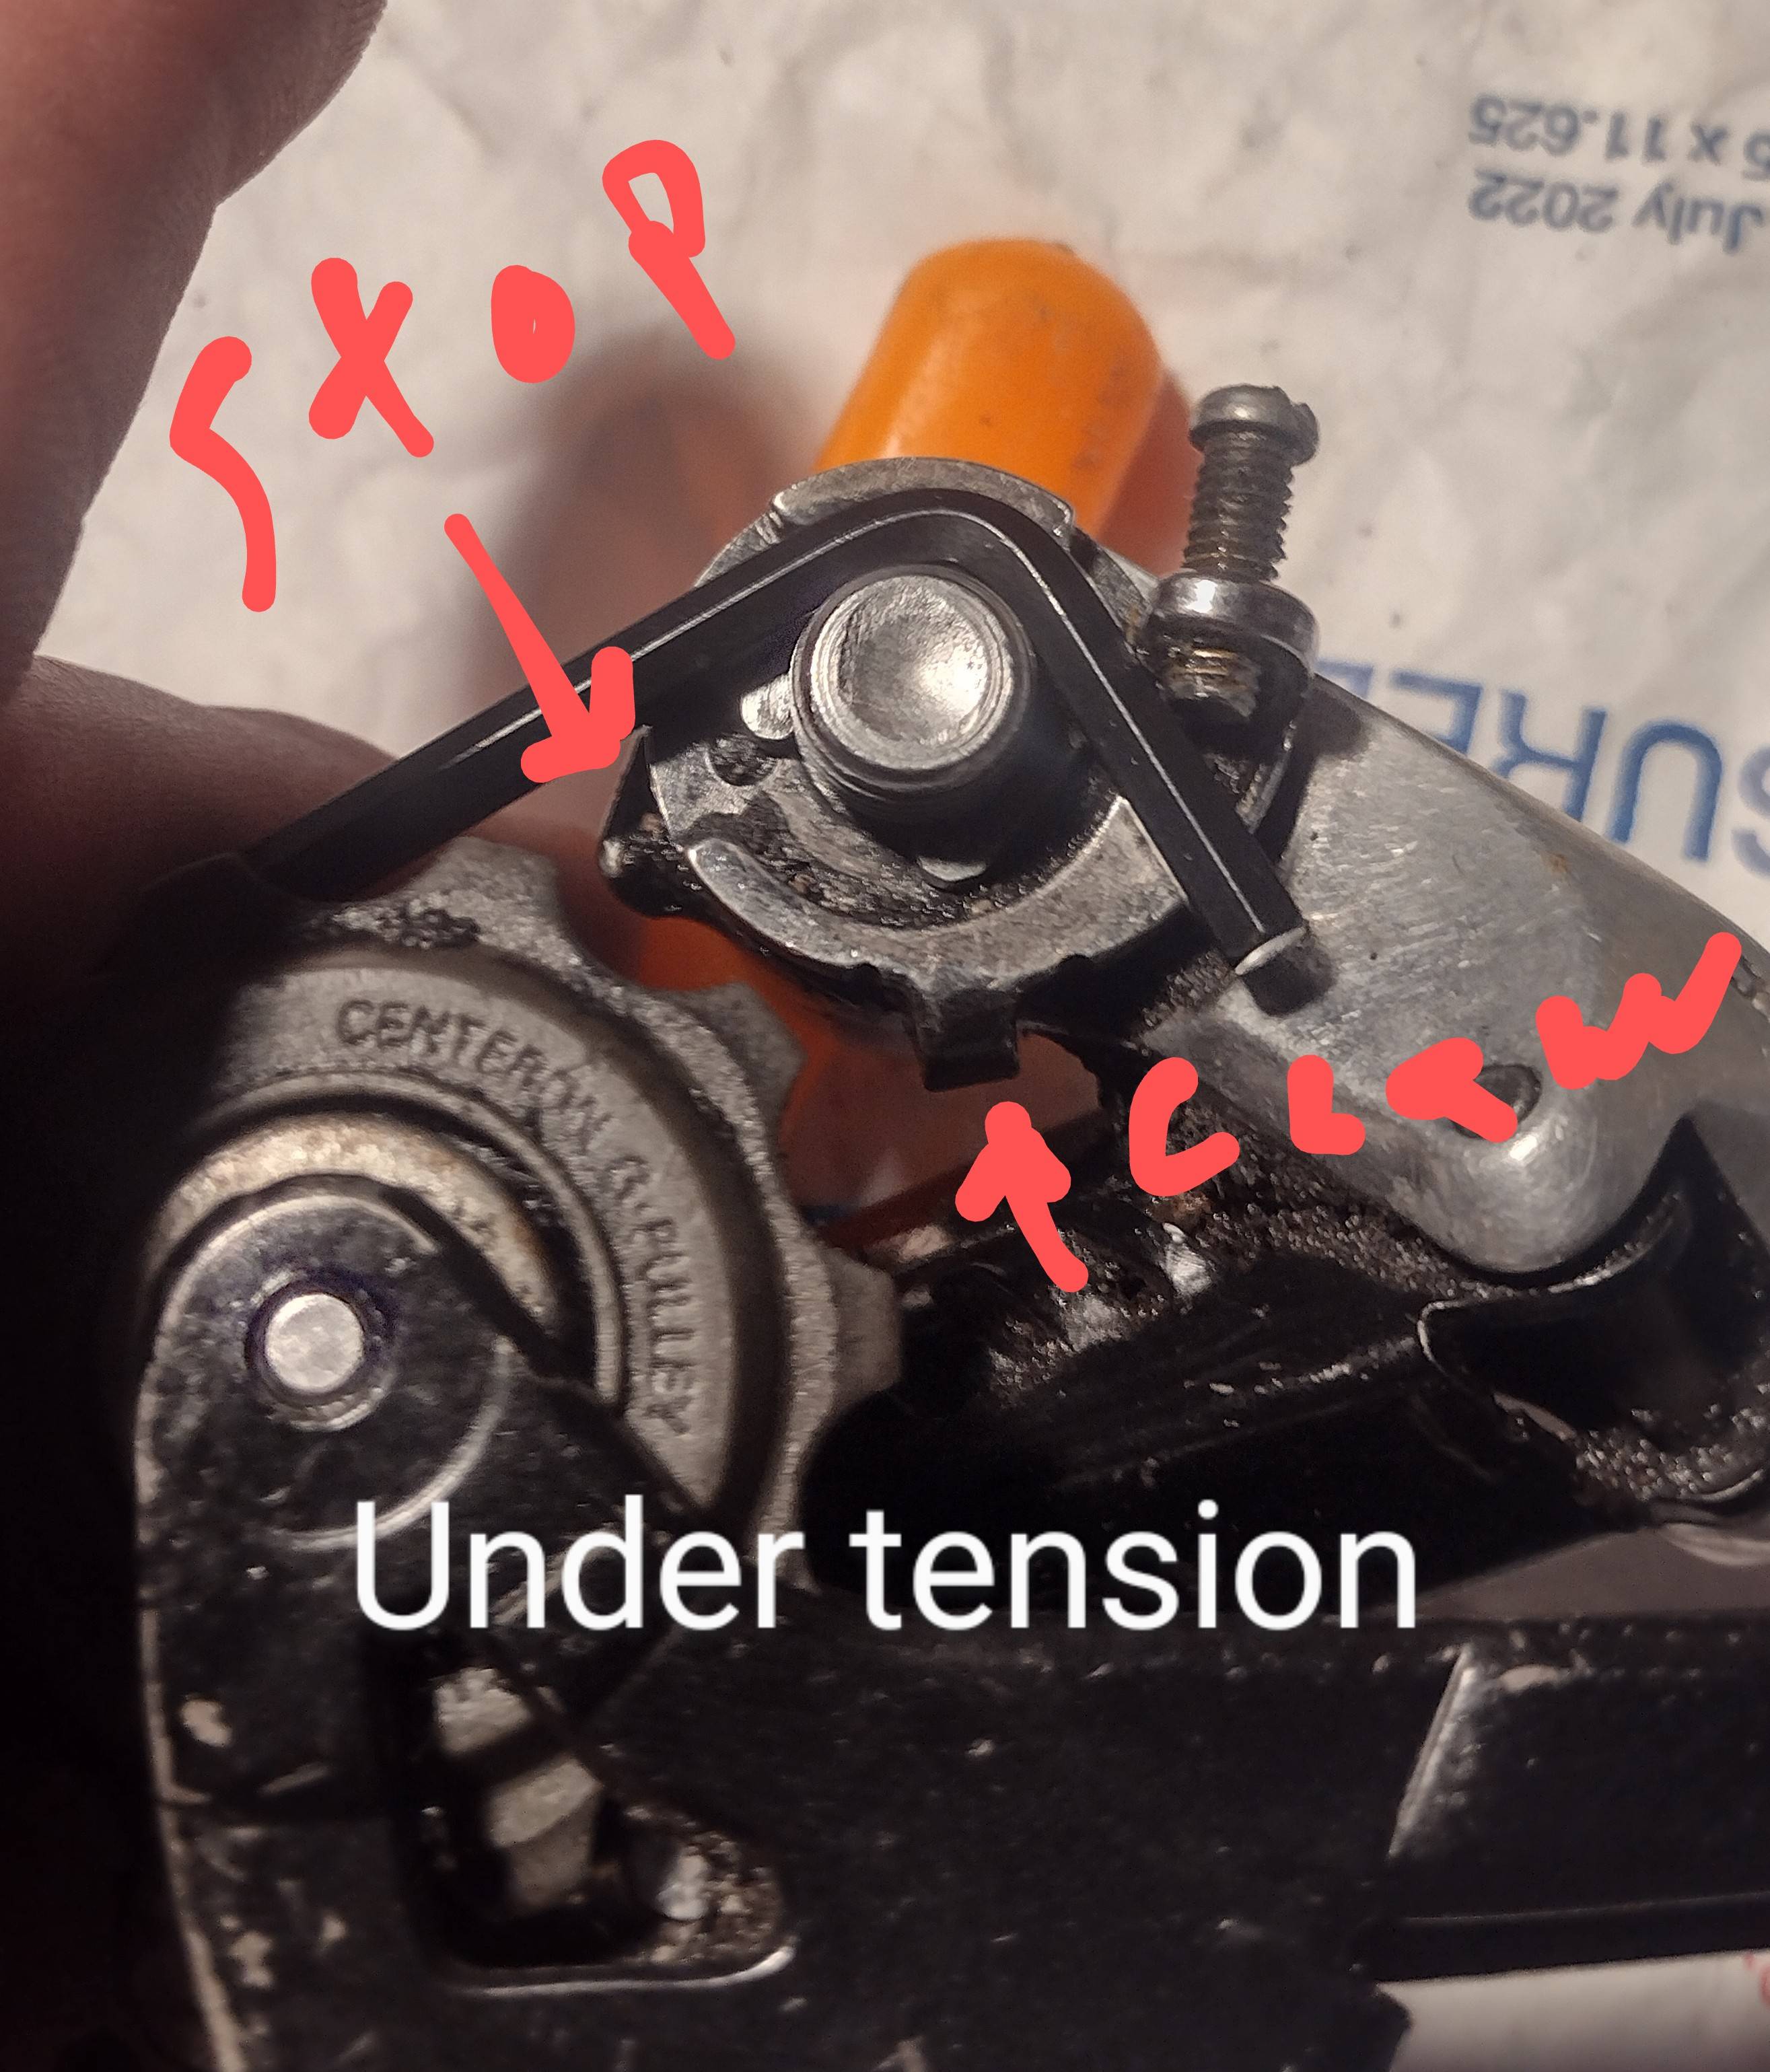
The way I read your question, you are having trouble with the position of the B-Screw and it's relationship to the hangar. I took some photos of a Shimano derailleur of similar design to your Claris model. It appears the B-plate and the screw are in the correct position in terms of on your derailleur. See my first photo and comparing it to your first, you can see identical positions of the B-plate when the ders are uninstalled. One thing that I note in my photo is the presence of a raised stop on the derailleur body. I can't confirm by your photo if the stop on your derailleur is present and viable. I've seen derailleurs where this area suffered a combination of wear and breakage and it no longer could engage the B-plate's claw. So you'll want to check to make sure yours is intact and the claw on your B-plate is against it.

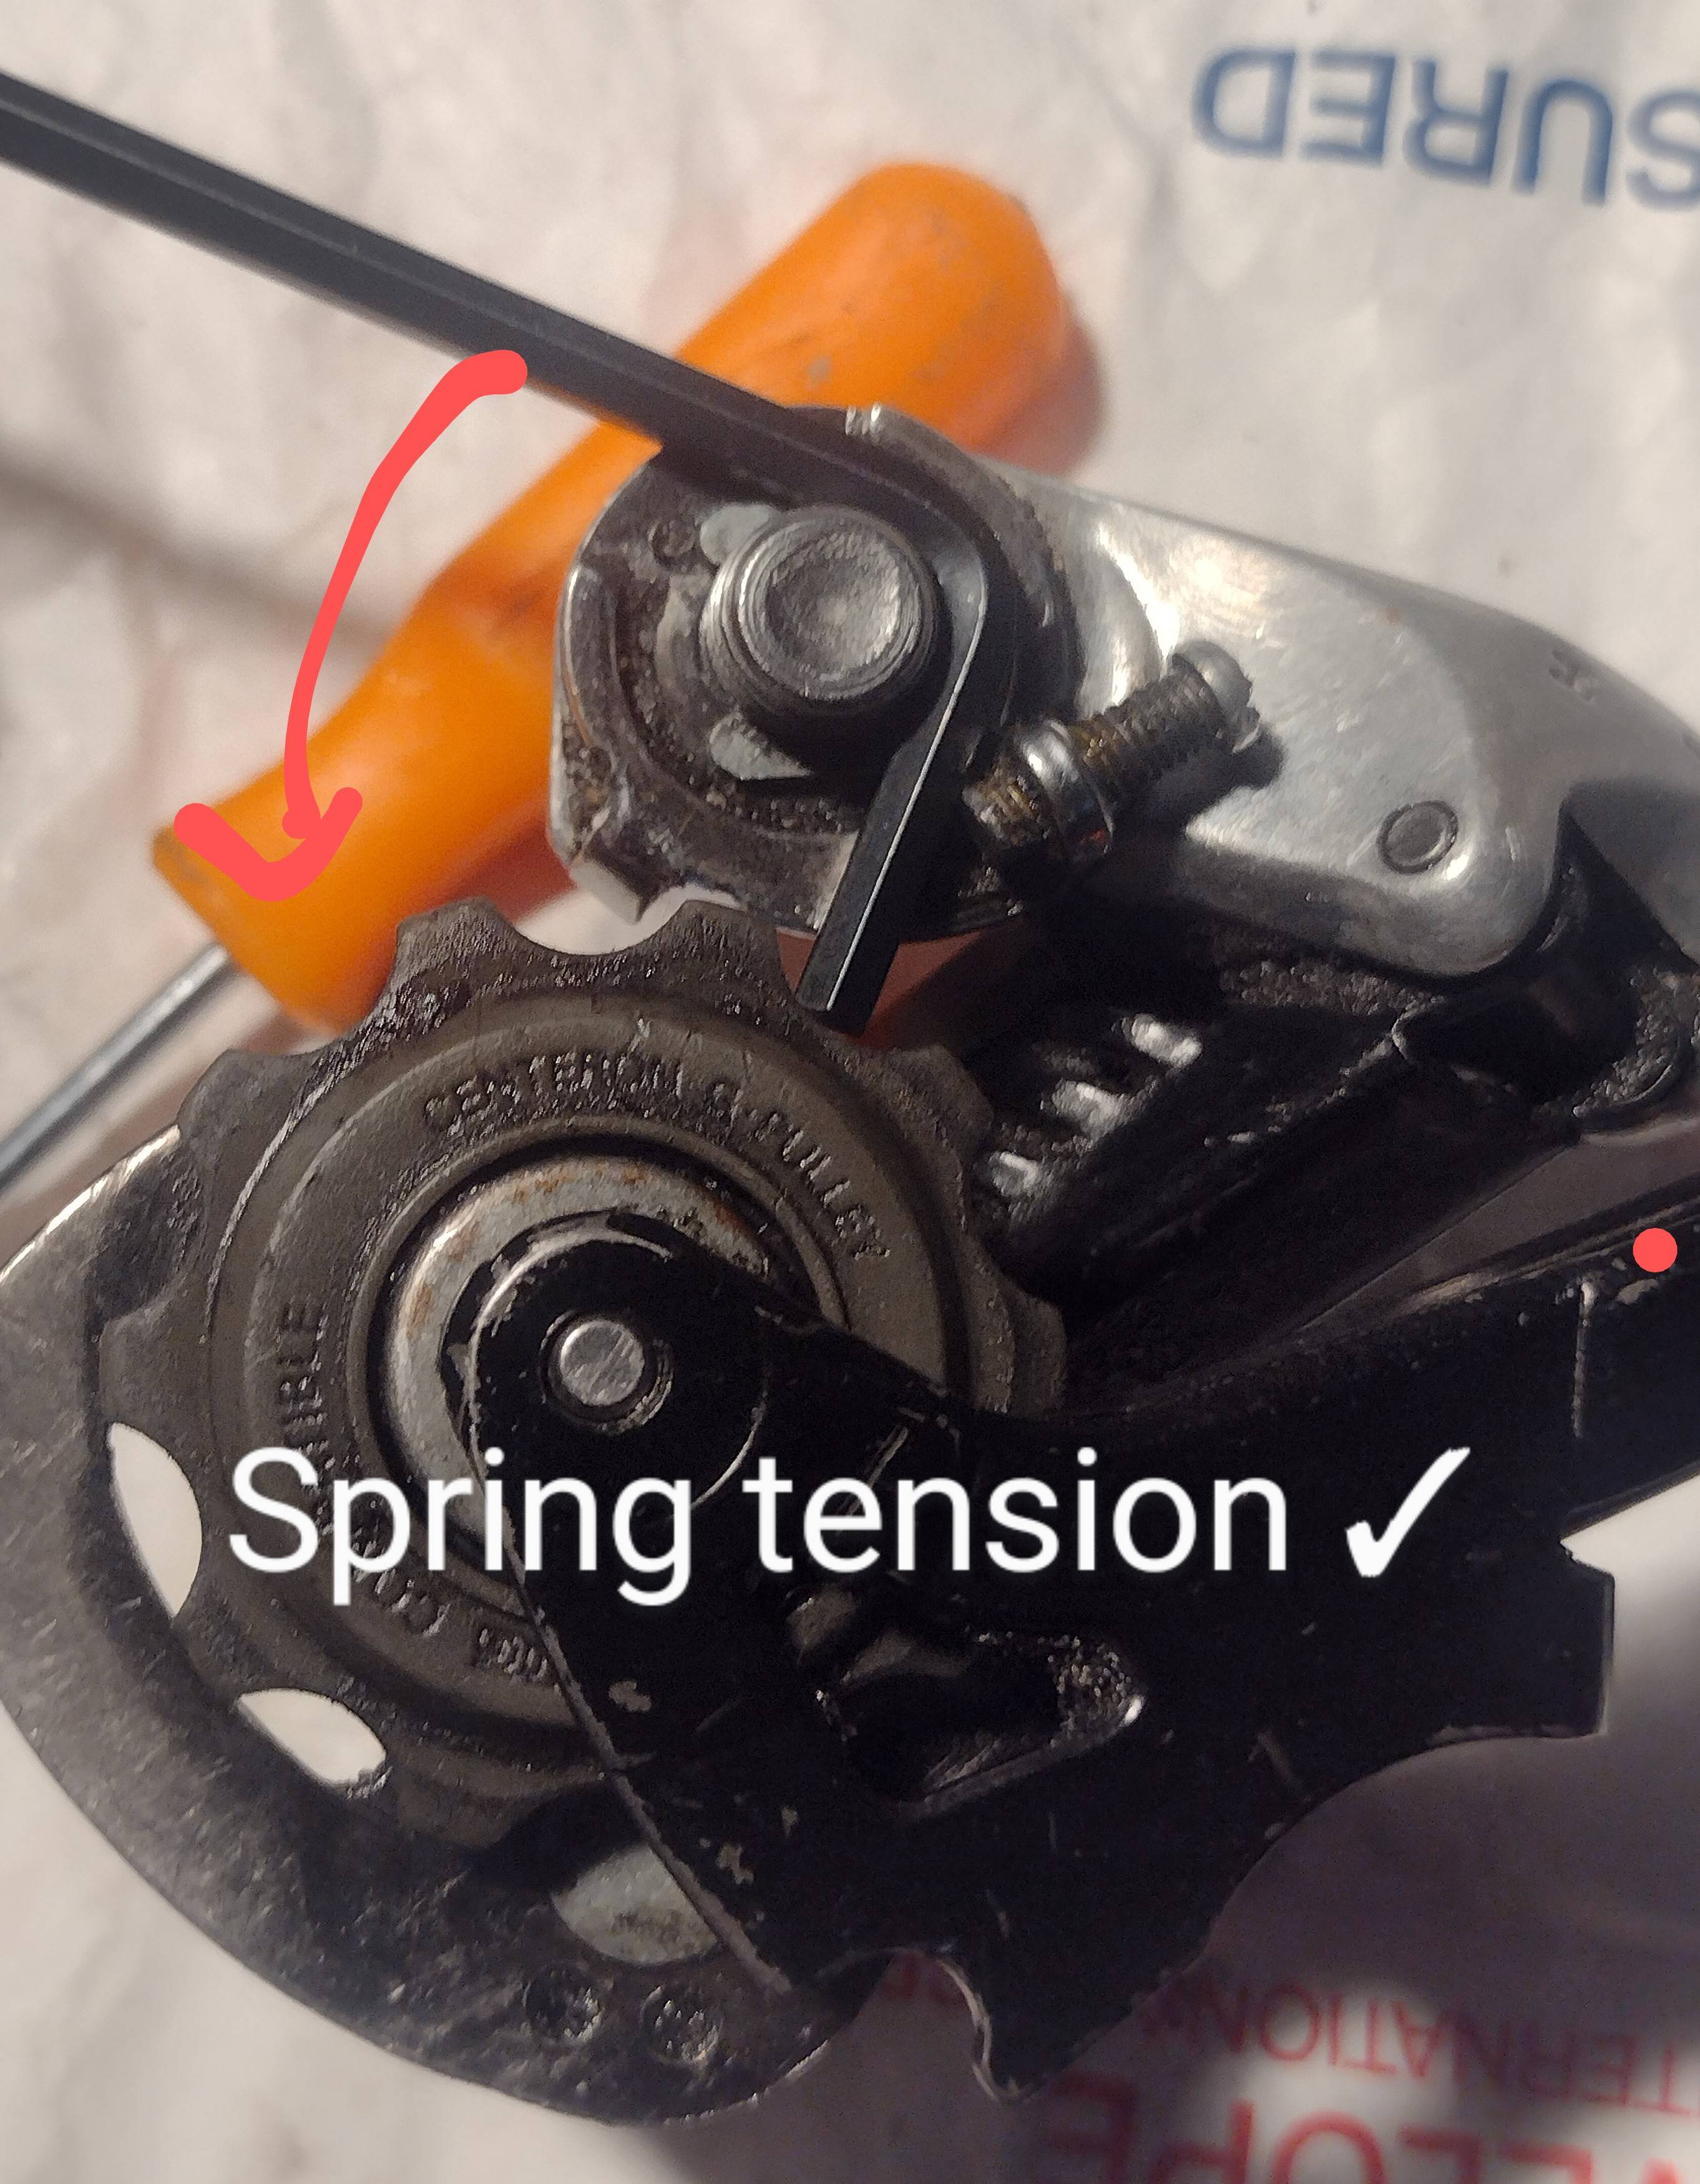
Next we should check the B-spring's tension by using a 3 or 4mm Allen key to manipulate the B-plate which is connected to the spring inside that part of the derailleur body. Place the Allen key as is shown in my photos. Use your left hand to rotate the key left and down while you hold the cage and end of the derailleur body with your right. You can place your left thumb under the derailleur (under the guide pulley) for leverage to turn the key. You should feel a good deal of spring resistance to the movement. The B-plate should move and when you relax the pull on the hex key, spring tension should bring everything back to the start as the claw on the B-plate comes to rest on the derailleur body stop. Do this a few times just nice and easy. The movement should be smooth and consistent and spring tension should be noted through the whole range. Caution--don't suddenly release the key and allow the B-plate claw to slam back into the body stop. Also note that the bend of the Allen key is rotating on the inner threads of the fixing bolt. There won't be any thread damage if you're careful. Just check that there's good spring tension and the stop is functioning. No need to exercise the spring a hundred times rubbing the key on the threads everytime.

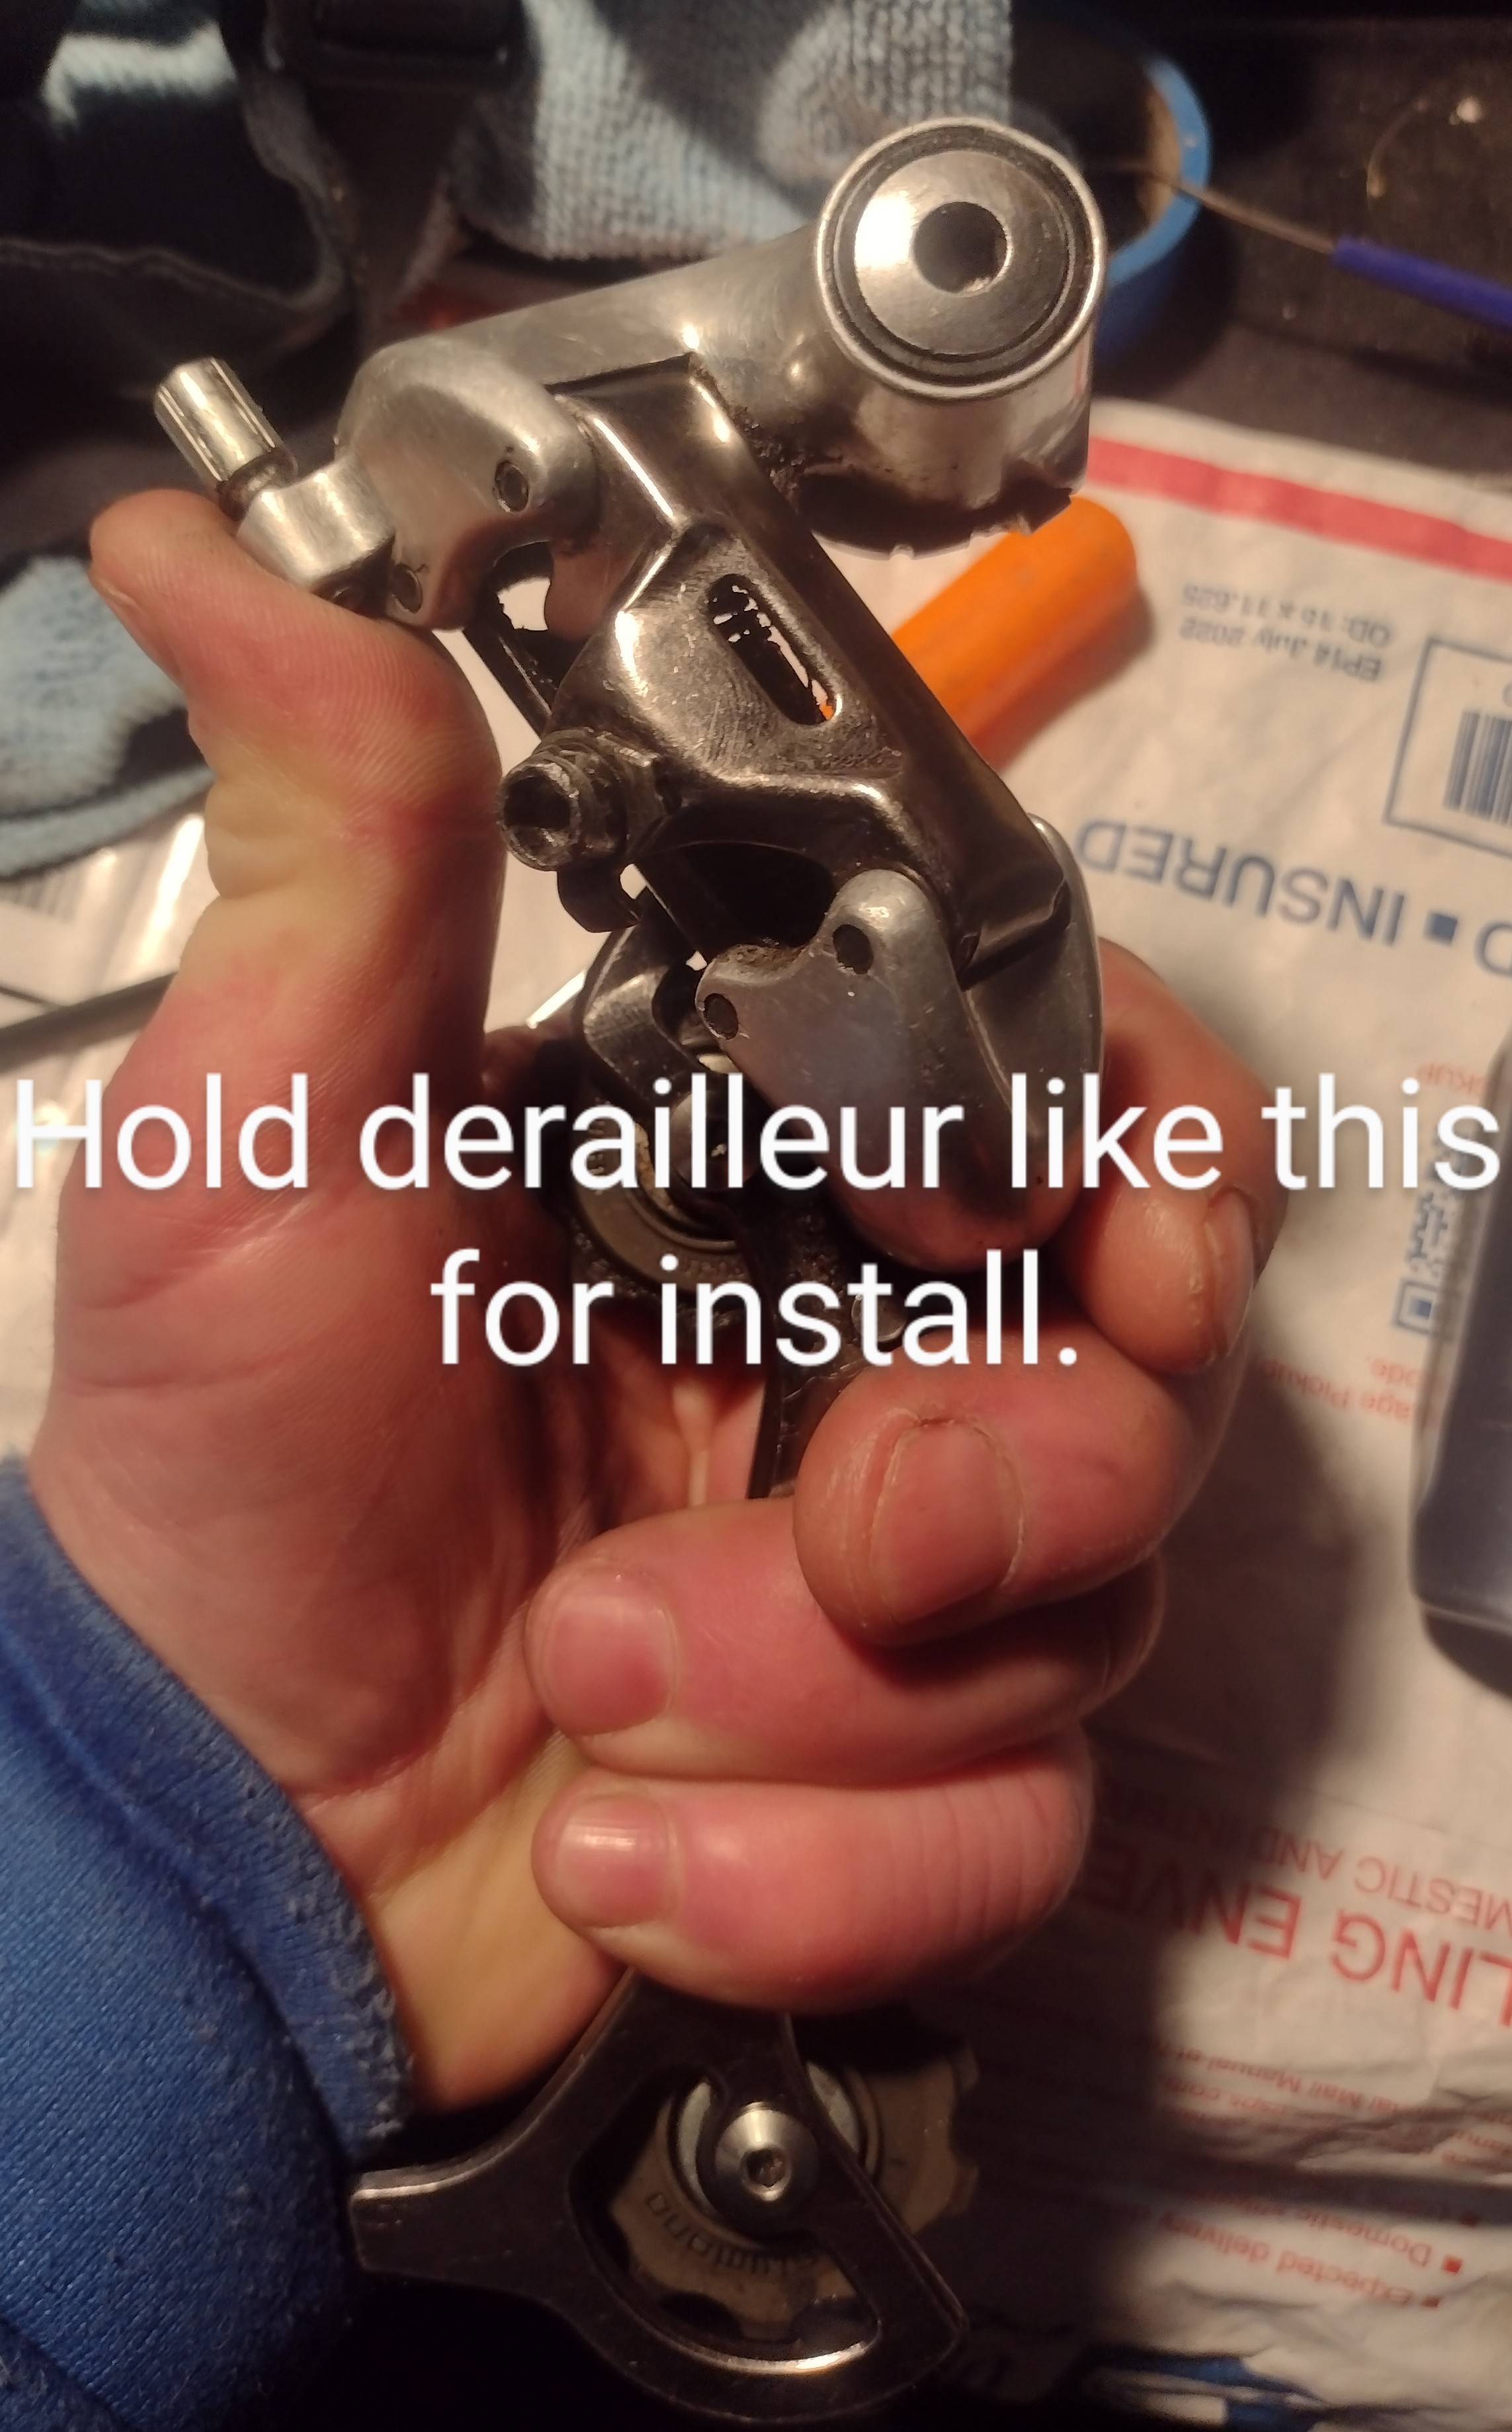
In your photos, as others have noted, your derailleur fixing bolt is not completely threaded in. Based on your comments I think you're aware of this. You are also correct when you note that the space--or cut out-- of the B-plate doesn't mesh with the hangar and it's not supposed to. The B-Screw and it's tab must not contact the derailleur hangar as you completely thread the fixing bolt in. The following pictures show how you can hold the derailleur while you install it. Essentially this positions the B-Screw out of the way of the hangar but also in the correct orientation so that when the derailleur fixing bolt is home, the B-Screw will come to rest on the hangar's B-tab (the tail of the hangar). The next photo just shows how to hold the derailleur, the one after shows the position you hold it in relation to the hangar as you start the fixing bolt into it.

It's good you have the B-Screw wound out all the way. That'll help prevent interference as the derailleur fixing bolt goes home. You'll have to wind it back in to some degree to get the proper gap between jockey wheel and large cog of cassette.
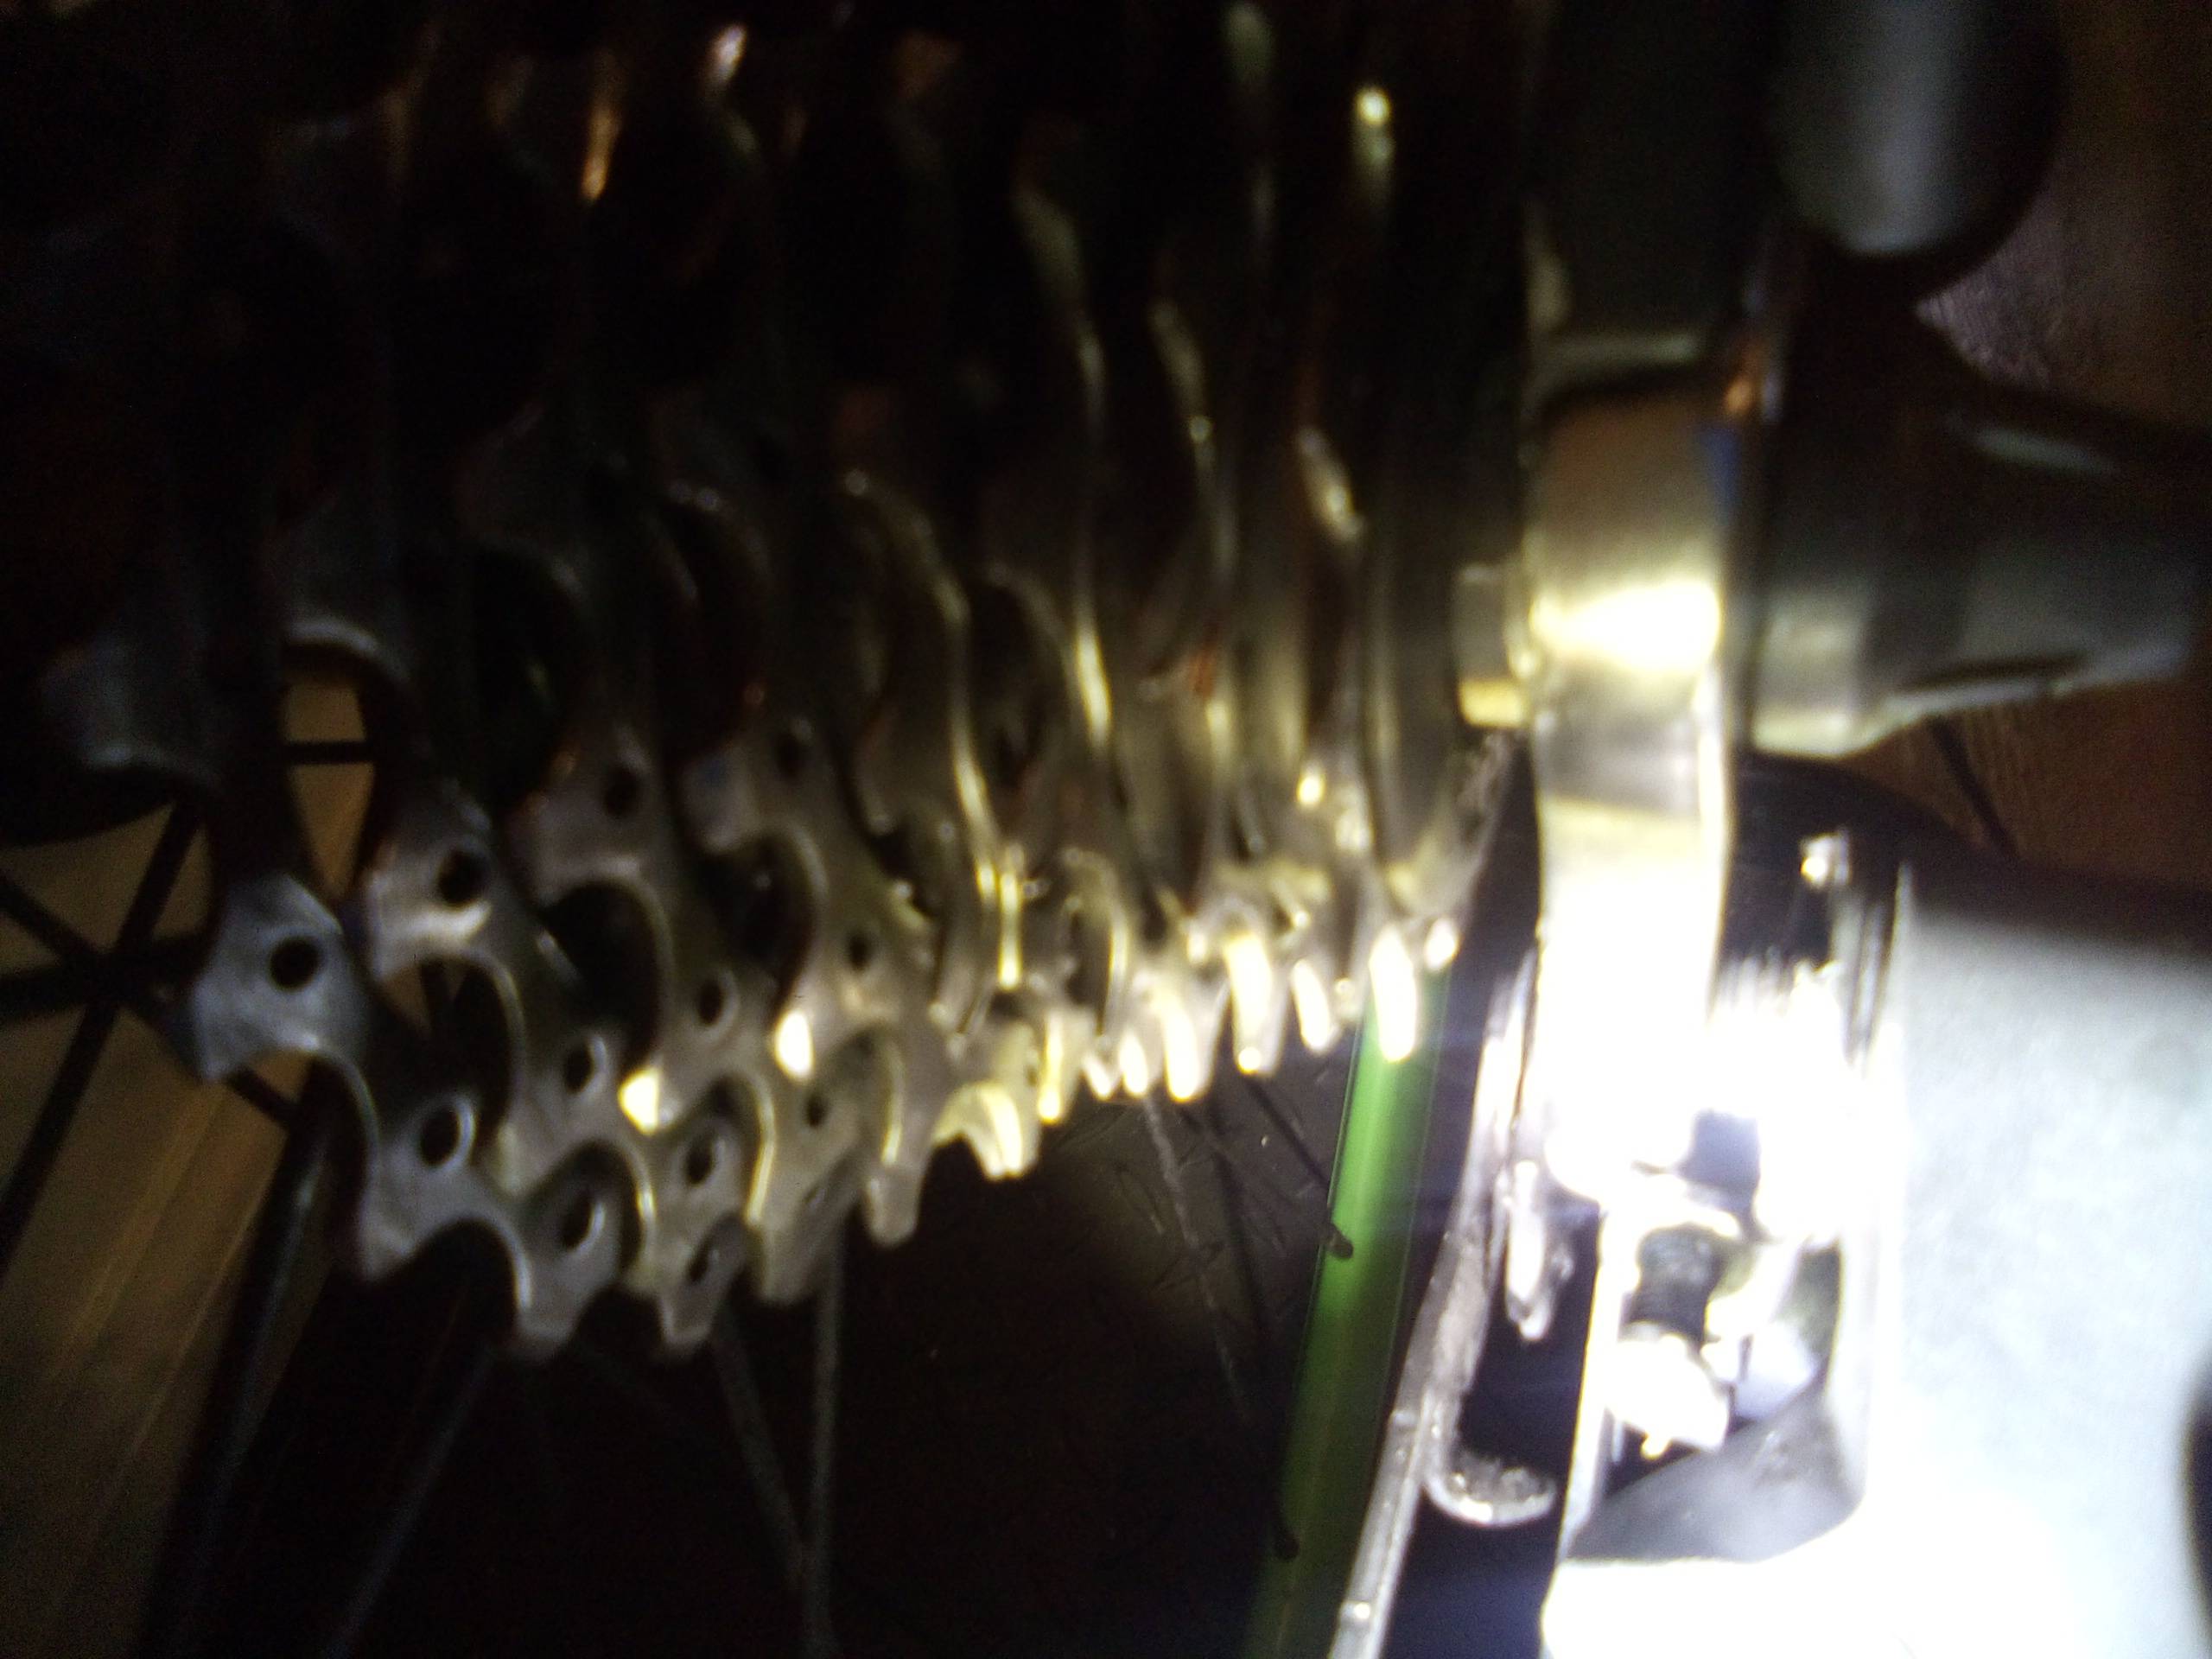
Another few things from your photos: it does look like your hangar is bent in toward the cogs a little bit. The cage of the installed derailleur needs to be parallel to the cogs. Viewed from the back of the bike and at the same level, the cage should be straight down. If it's not the hangar needs to be straightened or replaced. Shifting may be compromised otherwise. With an 8 speed cassette there's a little forgiveness if there's a small amount of misalignment due to a bent hangar. If the threads of the hangar are toast such that you can't get the fixing bolt all the way home, you'll need to fix that by a new hangar or chasing the threads with an M10 x 1.0 pitch tap. This option may not work if there isn't enough material left to cut threads into.

