Derailleur or derailer
Before derailleurs, bicycles could have one gear mounted to either side of the rear hub, and riders would detach and flip their rear wheel around to change gears. Derailleurs enabled riders to change gears while riding by "de railing" the chain from one cog to the next. They are fundamental components of most current bicycles.
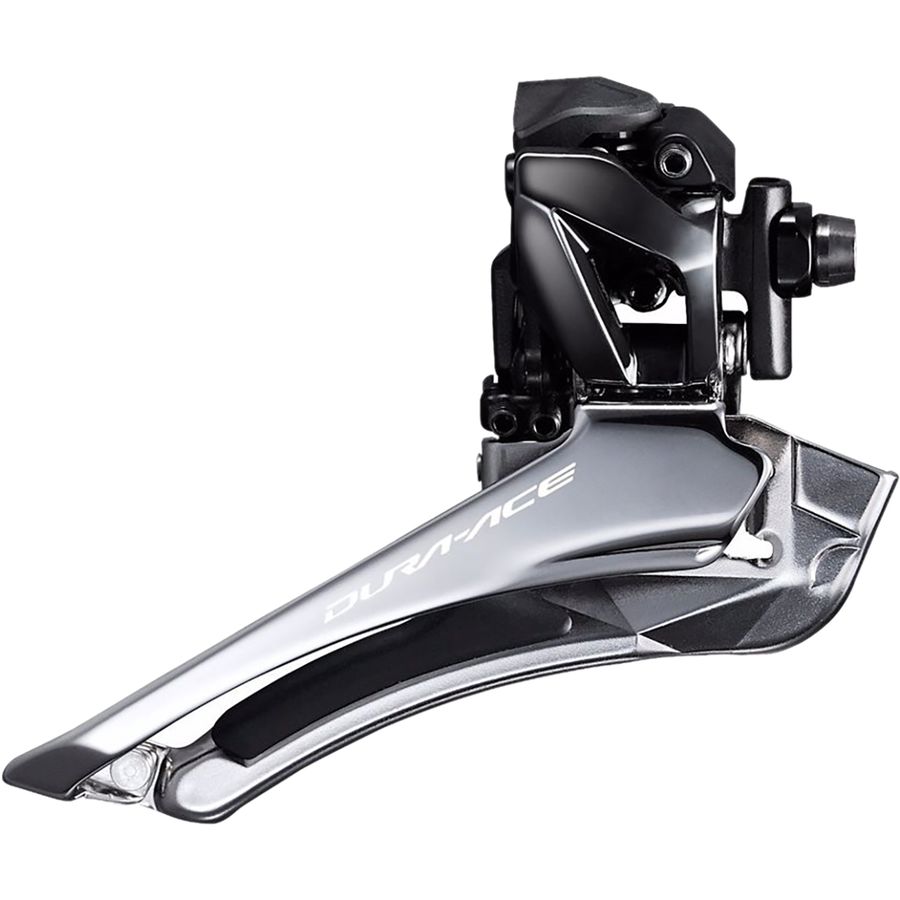
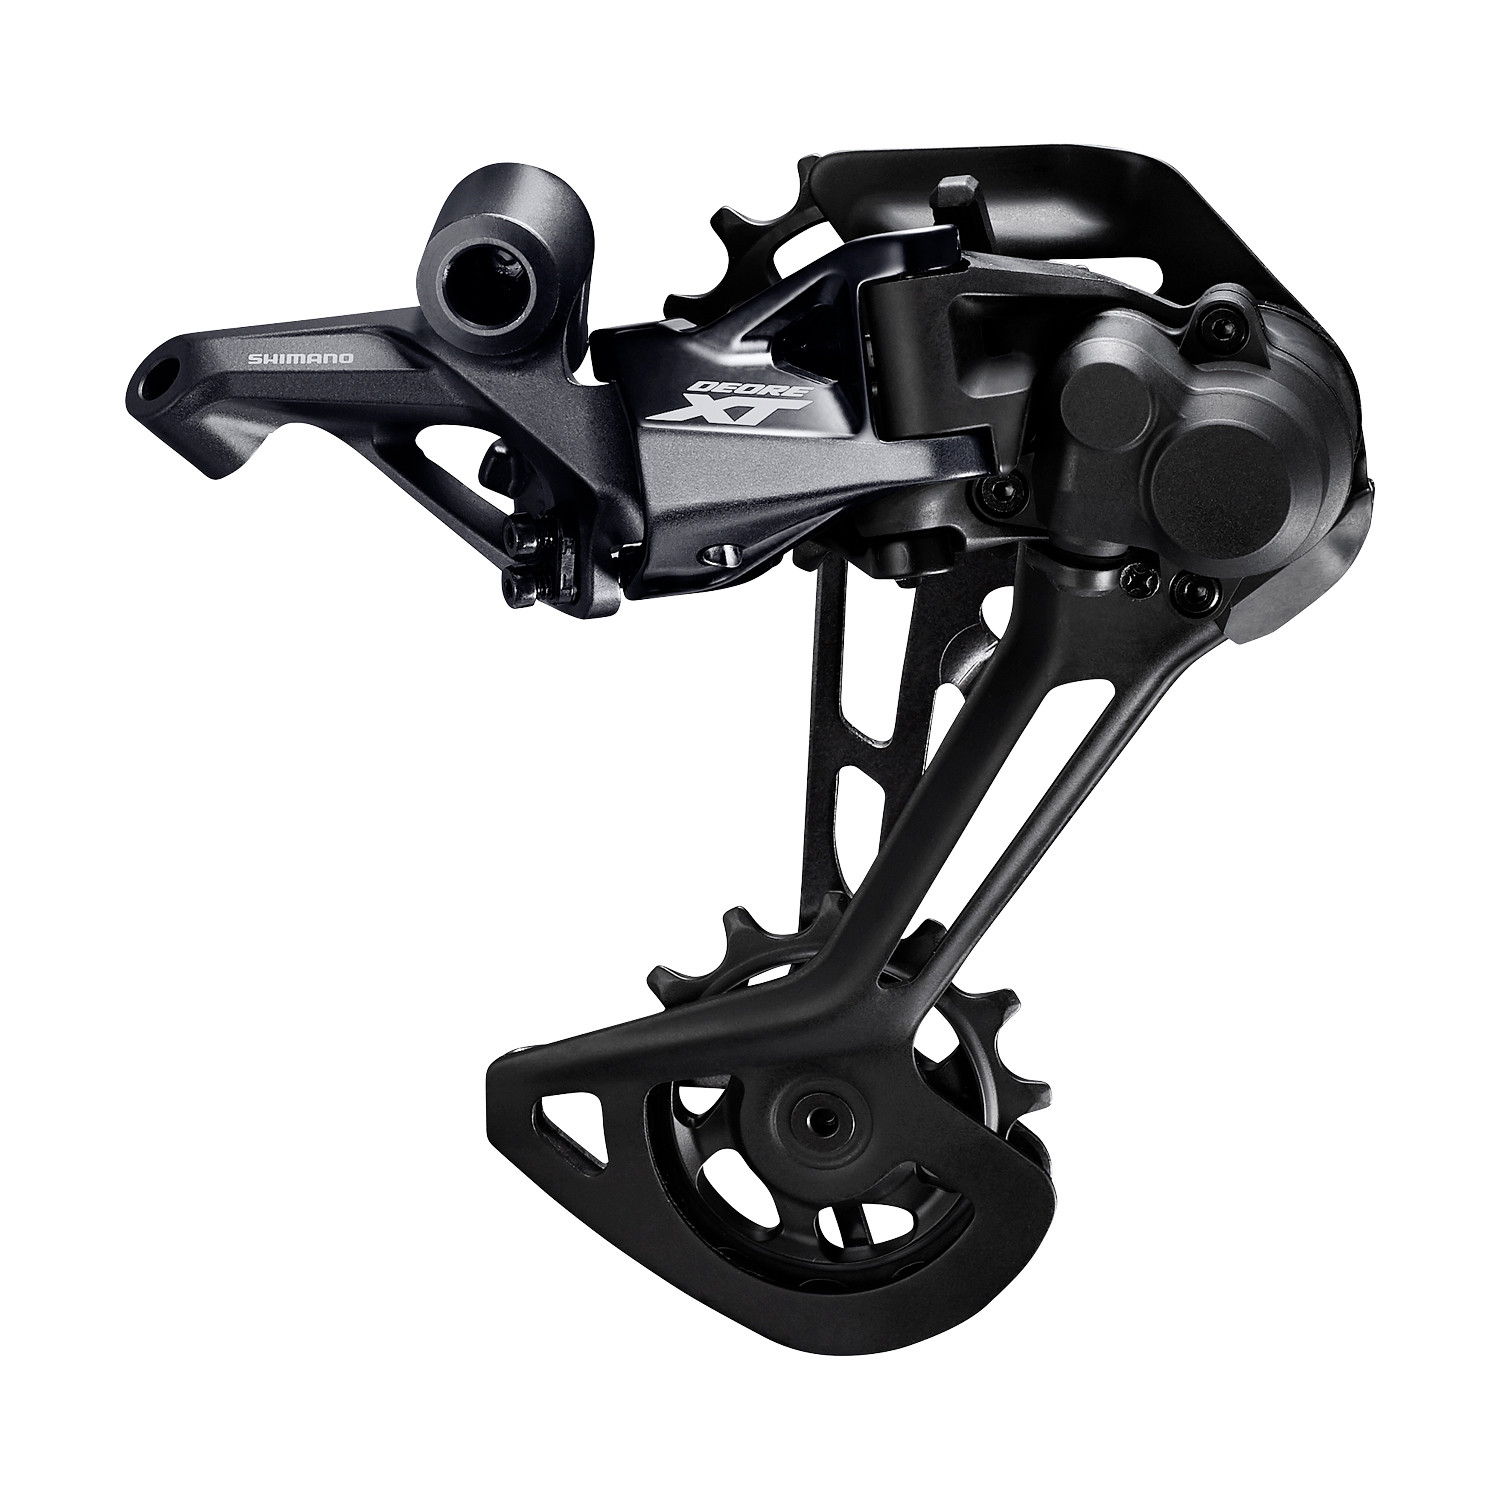
Tullio Campagnolo played a major role in the development of modern derailleurs, patenting and commercializing several operational derailleurs. Both front and rear derailleurs exist.
At the rear, derailleurs have steadily increased the number of cogs. At the time of writing, 11-speed systems are common, and 12-speed systems are being introduced for both road and mountain bikes.
At the front, derailleurs can handle two or three chainrings. As the number of speeds at the rear have increased, most road bikes have settled on two chainrings. An increasing number of bicycles, especially mountain, cyclocross, and gravel bikes, come with single front chainrings and no front derailleur. This is called a 1x, pronounced "one-by", drivetrain. On rough terrain, it is possible for a derailleur to drop the front chainring, possibly damaging the frame; a well designed 1x system will eliminate this problem. 1x chainrings have specially designed teeth to ensure chain retention, and will use wider-range rear cassettes. 1x systems simplify shifting and remove the need to adjust the front derailleur. They do lead to greater gaps between gears. Some research estimated that a 1x drivetrain should have just under 3 watts more drivetrain friction than a 2x drivetrain at a rider output of 250W. This increase is small is partly counterbalanced by the decreased aerodynamic drag from eliminating the front derailleur.
Derailleurs have been actuated by cables for most of their existence. In the early 1990s, Mavic pioneered the Zap and Mektronic groups, which were operated electrically. These groups were deemed too unreliable for regular use. In 2009, Shimano introduced Dura Ace Di2, which was the first commercially successful electronically-operated groupset. Campagnolo followed suit with EPS, and then SRAM followed with its wireless eTap group.
General alternatives to derailleurs are hub gears, which contain the gearing mechanism inside the rear hub. As another alternative, one can ride a single speed or fixed gear bicycle, both of which have only one or two gears (the second gear, if present, would be mounted on the opposite side of the rear hub).
You can adjust your derailers yourself!
Both front and rear derailleurs are adjustable by high (H) and low (L) limit screws. The limit screws control how far the derailleur may move, so that it does not shift the chain off the large cogs into the spokes or off one of the front chainrings. The cable tension accounts for the fact that cables do stretch slightly after use.
In addition, rear derailleurs have an additional B tension screw which moves the derailleur angle in relation to the rear cassette. They also have a cable tension adjuster, which accounts for the fact that cables stretch after some use. Rear derailleur operation can be compromised if the derailleur hangar, or the plate that a rear derailleur bolts to on the frame, is bent. Hangars can be replaced entirely or bent back, depending on material.
The following shows how to adjust cable-operated front and rear derailleurs and is intended for general information. Adjustment may seem intimidating at first, but it can be learned easily. NB - Before any rear derailleur adjustment, first ensure the derailleur hanger is aligned correctly
Chain Gap Adjustment (B screw)
- Shift the rear derailleur to the largest cog.
- Ideally, using a chain gap gauge, adjust the B screw until the top derailleur jockey wheel aligns with the teeth of the largest cassette cog. If you do not have a chain gap alignment gauge handy, aim for the gap to be between 10-15mm* (*refer to your groupset provider)
Rear Derailleur Adjustment
- Shift to the smallest cog on the rear cassette (this is the natural resting position for the derailleur when no cable tension is applied)
- For cable operated derailleurs, remove all tension from the rear derailleur by loosening and/or removing the cable
- Use this opportunity to wind the barrel adjuster on the rear derailleur shifter all the way in, then back it out 1 - 2 turns.
- Adjust the high limit (H) screw so that the centre of the top pulley wheel aligns with the outboard edge of the smallest cassette cog
- For cable operated derailleurs, re-attach the rear derailleur cable, pulling taught, but not under extreme pressure, and tighten the cable bolt.
- Shift to the largest cog on the rear cassette
- Adjust the low limit (L) screw so that the centre of the top pulley wheel aligns with the outboard edge of the largest cassette cog
- Fine adjustment can now be made via the barrel adjust on the shifter
Front Derailleur Adjustment
- Adjust the derailleur at its mounting bolt so that there is a clearance of 1 - 3mm between the derailleur outer plate and the largest chainring
- Tighten the clamp bolt, but do not torque to spec
- Shift to smallest cog on the rear cassette the largest chainring
- Adjust the high (H) adjustment bolt and align the front end of the derailleur outer plate parallel to the surface of the largest chainring
- Adjust the derailleur by rotating the mount so that the rear portion of the outer plates is 0.5 - 1mm inside the outer chainring
- Tighten the derailleur clamp bolt and torque to spec
- Shift to the largest cog on the rear cassette and the smallest chainring
- Adjust the low (L) adjustment bolt so that the clearance between the skid plate of the derailleur and the chain is 0 - 0.5mm


