5

I have an old steel frame road bike, dating from 1980. Its not rare or special, but its very like the one I rode to high school in the late 80s.

Problem: There are no bottle cage mounts, so my solution is to drill 4 holes and fit rivnuts to suit the standard bottle mounts. Rivnuts are also known as nutserts, and look like this:

enter image description here

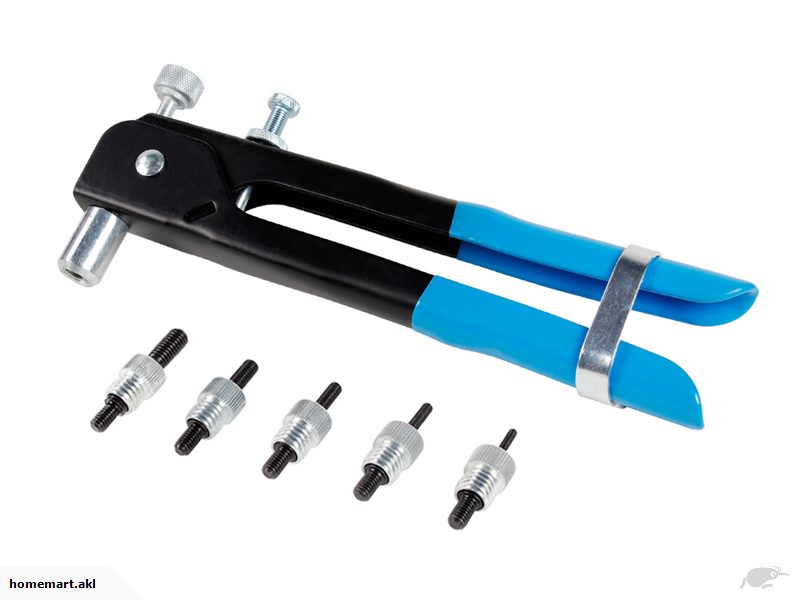
There's a special rivet tool that compresses the fitting while preserving the thread. I have one on order, and it looks like this.

enter image description here

So other than drilling the bare minimum diameter holes in the frame, what else do I need to consider?

  • paint or treat the raw steel edges of the drilled hole?
  • locate holes properly on the centerline or fractionally left, away from the drivetrain?
  • use mixed-epoxy on the insert as an insertion lube plus it will be a waterproofing layer when in use
  • my nutserts are smoothbore, not ribbed as per the example - would this matter?
8
  • Awww, you're not gonna use the Park Tools QR skewer hack you posted to chat? Commented Feb 15, 2018 at 11:42
  • @DavidRicherby no, I don't have anything suitable that isn't in a wheel. I figure grandad was right when he said "new task new tool"
    – Criggie
    Commented Feb 15, 2018 at 19:10
  • 1
    Any paint you put on will become cracked from the process of inserting the fitting. Probably the best you could do is drill the hole, somehow treat the bare metal to accelerate rust, then use a rust-converting primer to coat the inside of the hole. But that's pretty involved, so likely the epoxy is about the best one can hope for. Commented Feb 16, 2018 at 0:49
  • 1
    By "strap-on" I meant with spiral hose clamps. The plastic straps that are sometimes provided are useless on bikes. Commented Feb 16, 2018 at 1:51
  • 2
    Note - pictured tool turned out to be very flimsy and broke on the fourth (last) rivet. If you're doing this, either rent or buy a nice tool.
    – Criggie
    Commented Feb 18, 2018 at 23:52

2 Answers 2

2

I like the idea of using epoxy. Making sure it compatible with the materials being used. One issue with the nutsert on a tube is there is only full flange contact at the 12 oclock and 6 oclock positions. This makes it susceptible to becoming loose from side to side loads. Follow the manufacturers directions for the exact drill size required. Depending on the frame design you may need a right-angle drill or a short bit to get the correct position.

3
  • Yeah, drilling a hole high on the down tube could be a challenge. Commented Feb 16, 2018 at 0:50
  • A right-angle drill has been mentioned in the past. I intend on drilling an undersized hole and then using a tapered bore reamer straight-in to get it barely big enough.
    – Criggie
    Commented Feb 16, 2018 at 1:34
  • Thanks - I've just realised swarf could be an issue too. Downtube will be worse than the seat tube cos I can simply tip that out. Will have to try mounting bike upside-down and drilling upwards, with a lot of grease on the drill tip.
    – Criggie
    Commented Feb 16, 2018 at 1:37
4

Job completed - it worked well. Starting off with the finished product: Completed
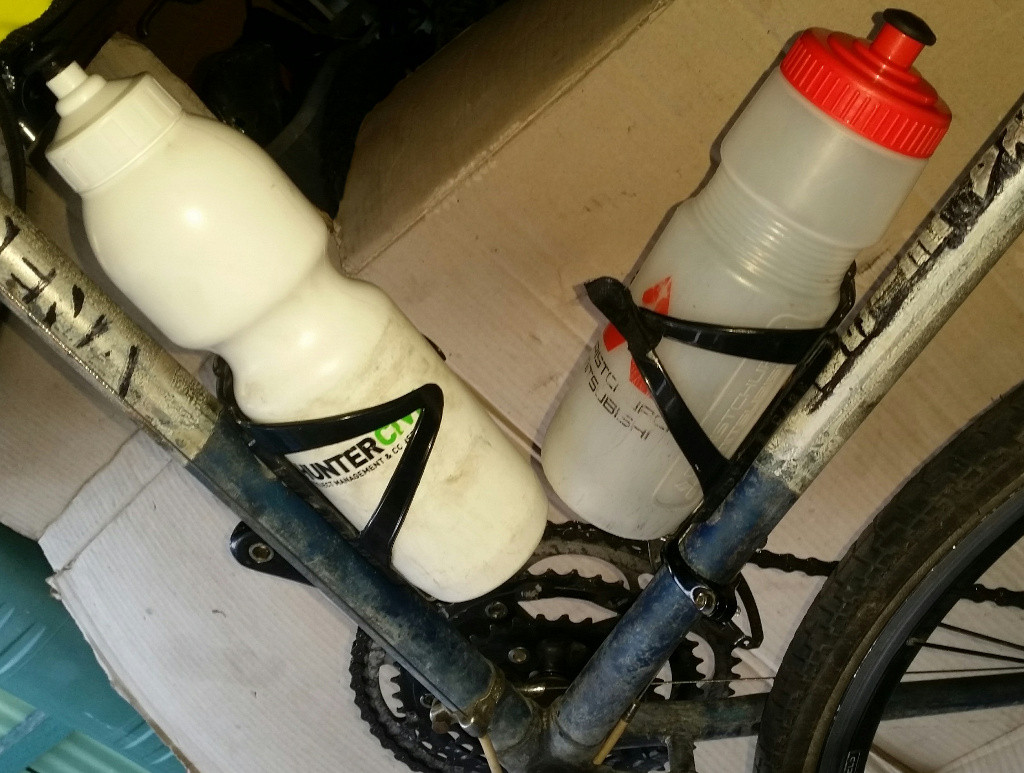

Start by measuring accurately. I put a bottle in each cage and then tested placements, considering the band-on clamp for the FD and the toolbag I have in the front of the frame triangle, which lead to a slightly high seat tube position, and a slightly low downtube bottle. enter image description here
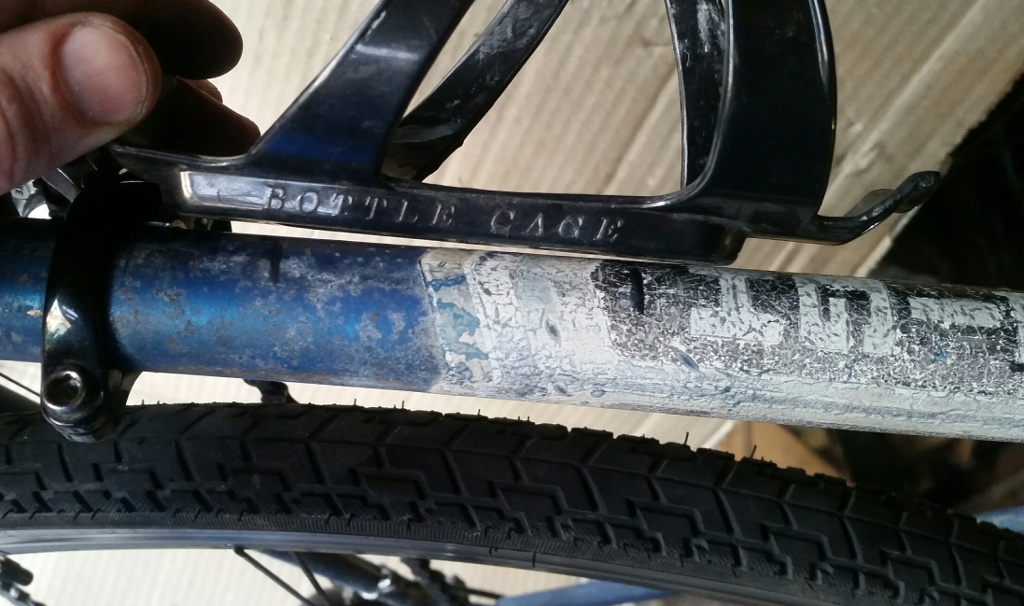
Then I used a self-powered punch to put a divot in the center of the tube. Be accurate!

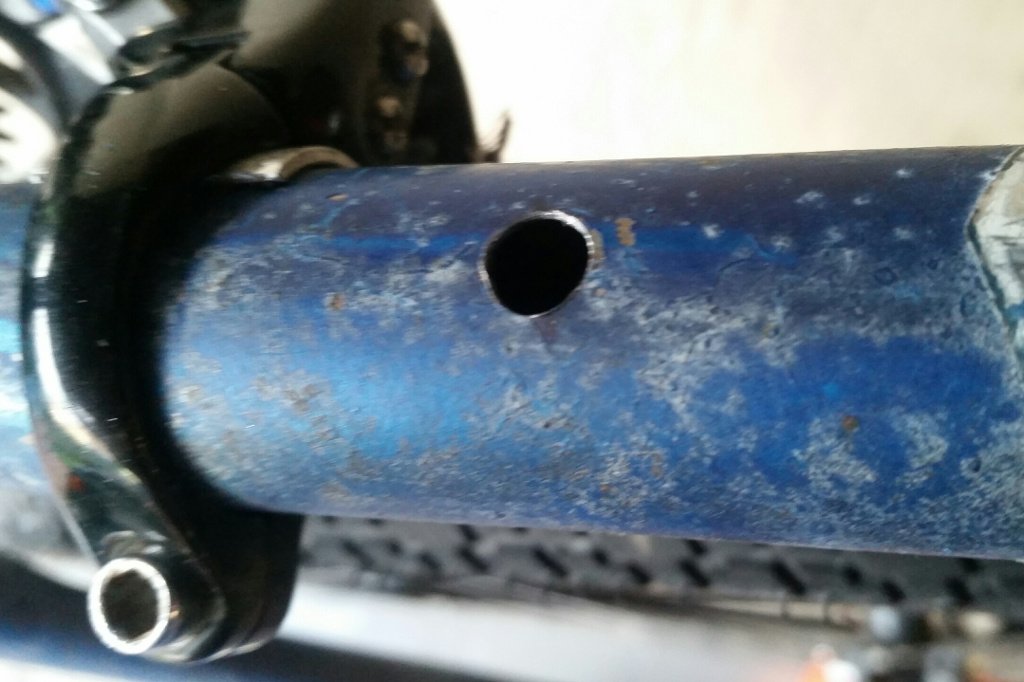
Upper seattube hole is drilled, lower one is part drilled. I started with a 2mm bit, then stepped straight to a 5mm and finished with a 7mm. Probably better to go 2mm, 4mm, 6mm, 7mm. I tried to catch the swarf with grease, which was only moderately successful. I also tried a magnet, and a greasy paperclip in the hole to fish out swarf and chips. See painting comment. enter image description here
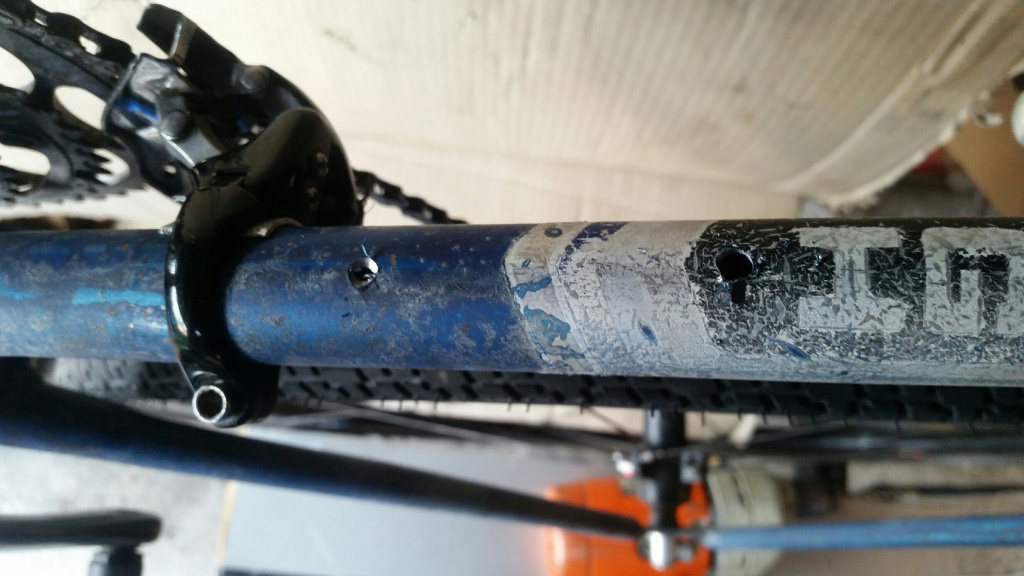
Close up of hole. The edges are slightly raised, and as Mikes pointed out its not a flat contact area. So (no pic) but I gently filed that lip off, and flattened the edges of the hole at the 12 and 6 oclock position to help the insert sit flatter. It worked well. enter image description here
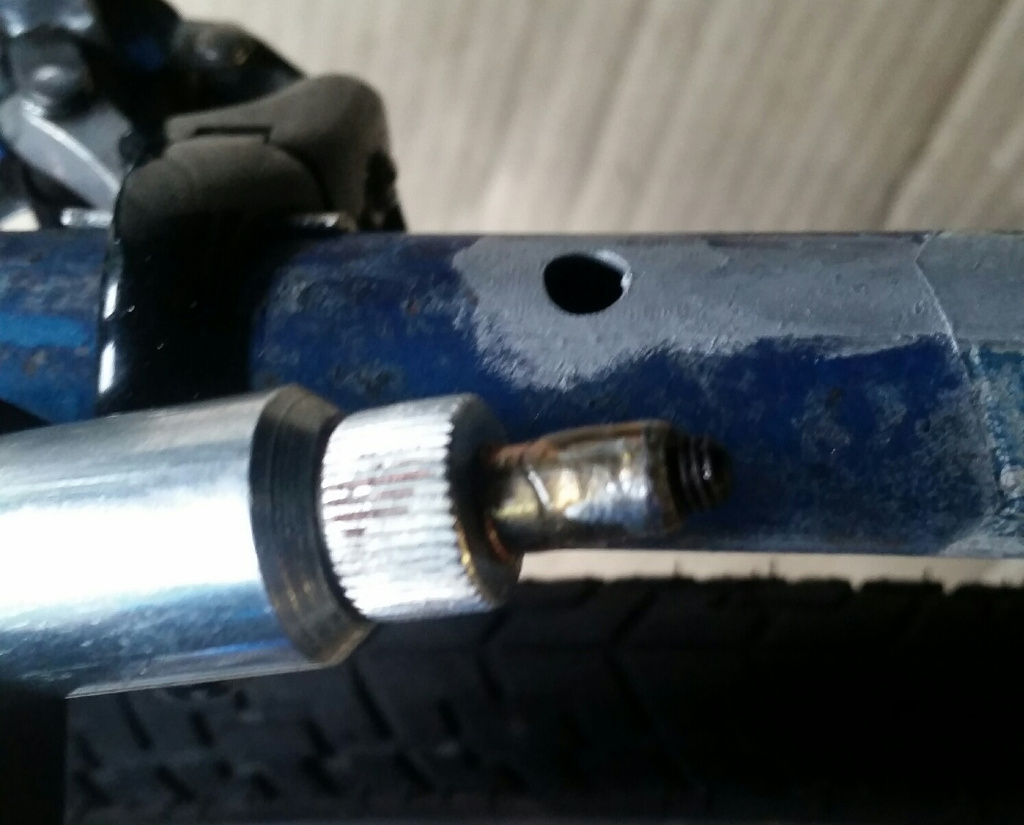
Here's the nutsert / rivnut / insert about to go in. Its got a light coating of clear epoxy on it, which may not have been needed. enter image description here
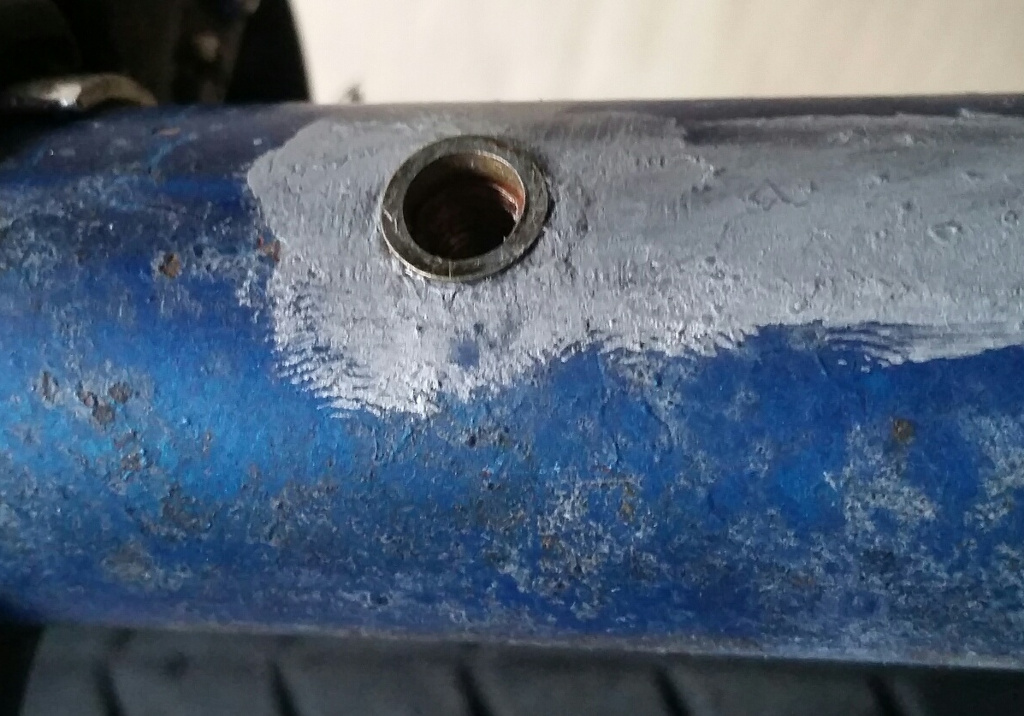
When drilling, it was easy to drive a bit hard and clonk the drill bit into the far side of the tube. The tapered reamer didn't work for the same reason. So to protect the bare steel I sprayed some zinc-based paint on the edges, and into the hole to hit the far side.

Finished fitment. The paint's not great (okay its pretty awful) but the insert sits really close in and has no problem with M5 bolts. enter image description here
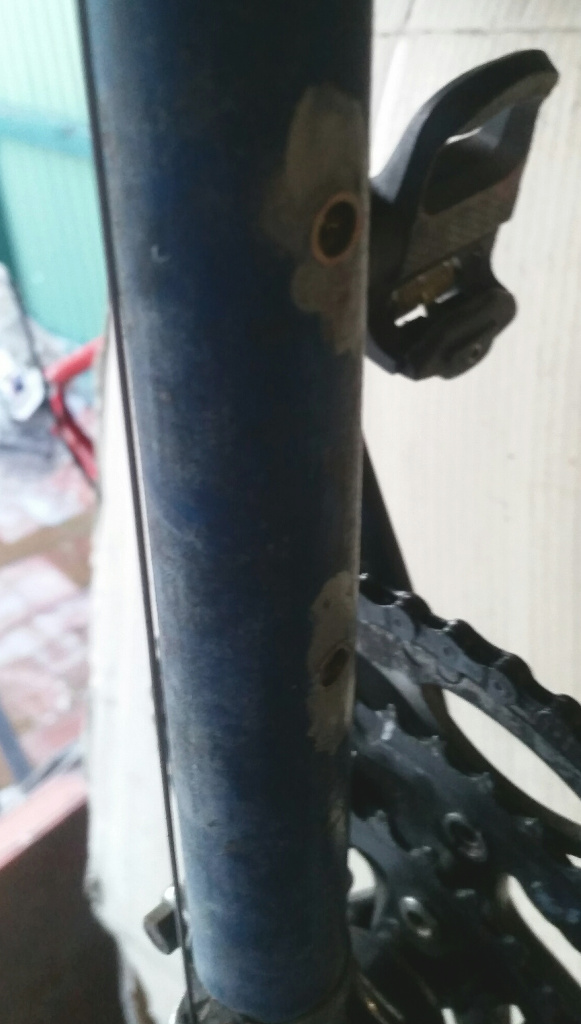
Here's the top-side of the downtube before bolting on the cages. enter image description here

Last comments

  • if you're going to buy the tool, don't buy a cheap one. Mine was $30 and the circlip failed on the last insert. leaving the tool's axle loose. Aim to spent at least double what the cheapest tool costs.

  • David points out that its possible to do this with a QR skewer - but I had to use a lot of force on the end of a 250mm arm. A 30-40mm Quick Release lever wouldn't be capable of this.

  • Drill the minimum-sized hole possible. Use vernier calipers to be sure. I ended up wiggling the drill bit fractionally to get a tight fit without stepping up to the next drill size.

6
  • 1
    I'd have sanded the holes smooth to remove sharp edges left behind by the drill or reamer that might concentrate stress and lead to cracking. Commented Feb 16, 2018 at 17:34
  • @ArgentiApparatus I filed the outside surface, but there was no easy way to get to the other side. A long hone might have worked in the seat tube only.
    – Criggie
    Commented Feb 16, 2018 at 19:04
  • I was thinking a J or L shaped bit of wood with a patch of sandpaper glued on the foot, to sand the inside of the hole. Difficult to get in a 7mm hole though I guess. Commented Feb 16, 2018 at 19:11
  • 1
    What was the purpose of the light coating of clear epoxy on the rivnut?
    – compton
    Commented Feb 18, 2018 at 9:53
  • 1
    @compton Combination of water sealing and "because I can" really. The idea was to not have to repeat this task.
    – Criggie
    Commented Feb 18, 2018 at 23:45

Your Answer

By clicking “Post Your Answer”, you agree to our terms of service and acknowledge you have read our privacy policy.

Not the answer you're looking for? Browse other questions tagged or ask your own question.