6

Recently while scooting through a ditch that had soft dry sand at the bottom, my front wheel bogged down and I had to awkwardly hop off the bike over the bars. In the process my bike summersaulted forward. One of those goofy moments that's hard to describe properly. Not a big deal and no injuries.

BUT as my bike tumbled forward, the right brifter went straight down in the sand which is quite fine and very dry.

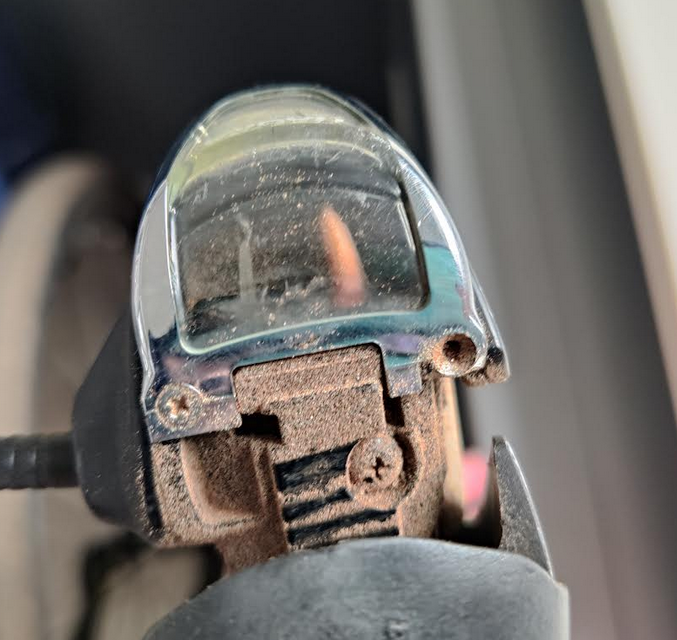
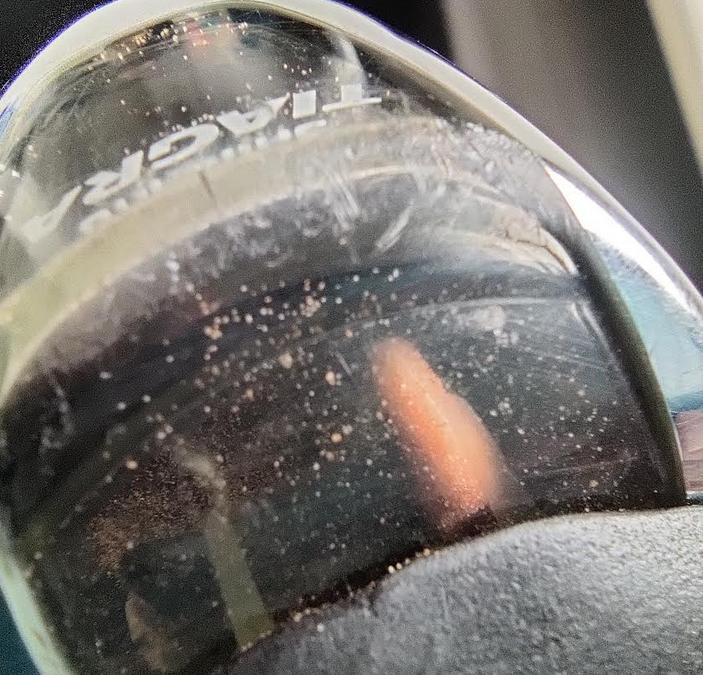
Now the right brifter seems to have a lot of sand peppered through the mechanism. I was surprised at how thouroughly the sand coated everything - it even got inside the little shift indicator area.

enter image description here

enter image description here

(the finer sand there that's in focus is inside the clear compartment)

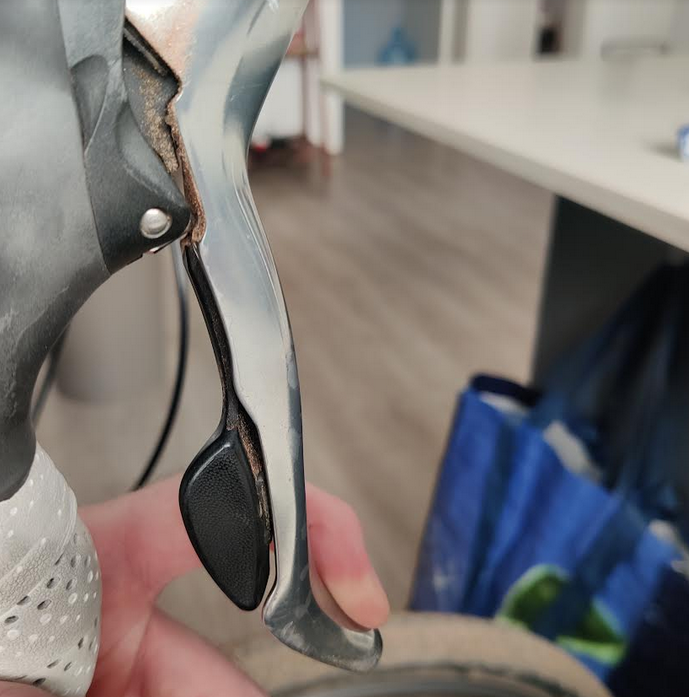
enter image description here

I'd like to clean this out. I can feel a scratchy sandy feeling when shifting particularly on the big lever (shifting up cog sizes). So I'm worried about continued shifting degrading the internal components and messing up the indexing.

What are some options for cleaning this out?

I'm curious to see a range of options up to and including opening up the inner mechanisms and having to reassemble the shifter. I'm not totally opposed to the latter but I'm in Zambia and it's quite hard to find road components here. So if I open it up and fail to reassemble it, finding a replacement won't be easy.

I'm wondering how well compressed air followed by lots of WD-40 would be in flushing out enough sand to avoid having to take the whole thing apart.

The brifter, a Tiagra, is stock on a 2010 Specialized Tricross. I don't see a series number but the front derailleur, also Tiagra, says FD-4503. So I'm assuming the brifter is a 4500 series.

Thanks.

1
  • What you are suggesting (air plus WD-40) is similar to what this video youtube.com/watch?v=49lAdo_vUX4 suggests. Air to get the sand off, WD-40 to flush the remaining gunk out, wipe off excess fluid and then re-lube. Probably the best you can do with limited resource, probably works without taking the STI off the bike.
    – DoNuT
    Commented Jun 21, 2023 at 11:40

1 Answer 1

5

I'll share one approach I tried today that actually worked way better than I was expecting. But didn't remove 100% of the sand.

I took a shop vac with a small brush nozzle and used it to vacuum the obvious loose sand off the surface. While doing this, I applied the brakes which exposed some of the "outer" innards of the shifter, i.e. the stuff that sits under the hoods. Then I shifted up and down with the brakes partially applied, which exposed some of the shifting mechanicals, all the while vacuuming away at any new sand-covered surfaces these actuations exposed.

Then I continued this vacuuming and brifter actuation while brushing all the surfaces I could reach with a soft bristle tooth brush. This loosened way more sand than the vacuum alone, but keeping the vacuum right by the toothbrush made sure any loosened sand got sucked out rather than falling further down into the shifter.

Since I was working on this on my own, I also found it helpful to use a heavy duty elastic band to hold the brifter in various actuated positions. E.g. here it is in brake applied position by hooking the elastic over the end of the brake lever and bar plug:

enter image description here

I was able to use the same band hooked around my bell near the stem to hold it in "large shift lever actuated" position (i.e. like it's shifting to a large cog).

I continued that process while also shifting up and down through all gears with the brake slightly applied, which exposed various parts of the shifting mechanism on the side.

At the end of all that, the only sand I could anywhere even while cycling through various brifter actuations, was the stuff that's inside the shifter's window.

So, this didn't remove all the sand. BUT, the shifter no longer has that sandy/gravelly feeling it hard earlier so it clearly got a lot of it out of the shifting parts. And that held up on a 30km ride, i.e. it didn't start feeling sandy again.

3
  • 1
    I find rubber bands tend to deteriorate, so I use one and it snaps quickly, A useful alternative is a workshop F clamp.
    – Criggie
    Commented Jun 21, 2023 at 19:44
  • @SSilk You're idea is an excellent one. Likely better than compressed air, while usually having more force than a vac, can also drive foreign material deeper into the work piece. The brush-vac combo also A+. Regarding WD-40 use: that does excellent cleaning work and will dry after some time so a better lube can be used. However, I like to use aerosol TriFlow, which also does a good job cleaning. When the cleaning aspect is complete, the high amount of PTFE-based lube that will be left when the solvent carrier dries makes it a one-step process.
    – Jeff
    Commented Jun 24, 2023 at 17:51
  • @SSilk Please note you may "accept" your own answer as best/most helpful and get a few more rep points if you're into that aspect of SE
    – Jeff
    Commented Jun 24, 2023 at 17:54

Your Answer

By clicking “Post Your Answer”, you agree to our terms of service and acknowledge you have read our privacy policy.

Not the answer you're looking for? Browse other questions tagged or ask your own question.