There are no instructions because there is no single correct angle recommendation that will be correct for everyone. Obviously, the bars should generally have the shifters pointed forward, but beyond that, it depends on how you fit on the bike and your preferences.
There is a series of steps you can follow to find a good fit for you.
Step 1. Put the bar on the stem and the brifters on the bar, ensuring your cables are routed correctly. Tighten bolts just enough that the bars and brifters move only when you apply a bit of force. This helps you arrange everything without fighting the bike.
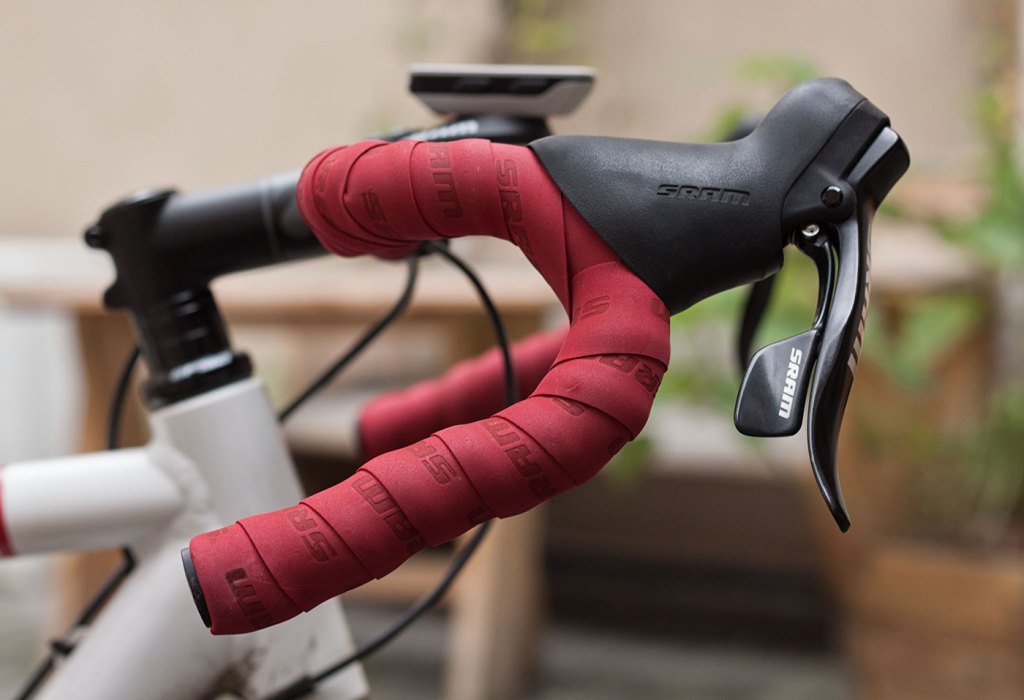
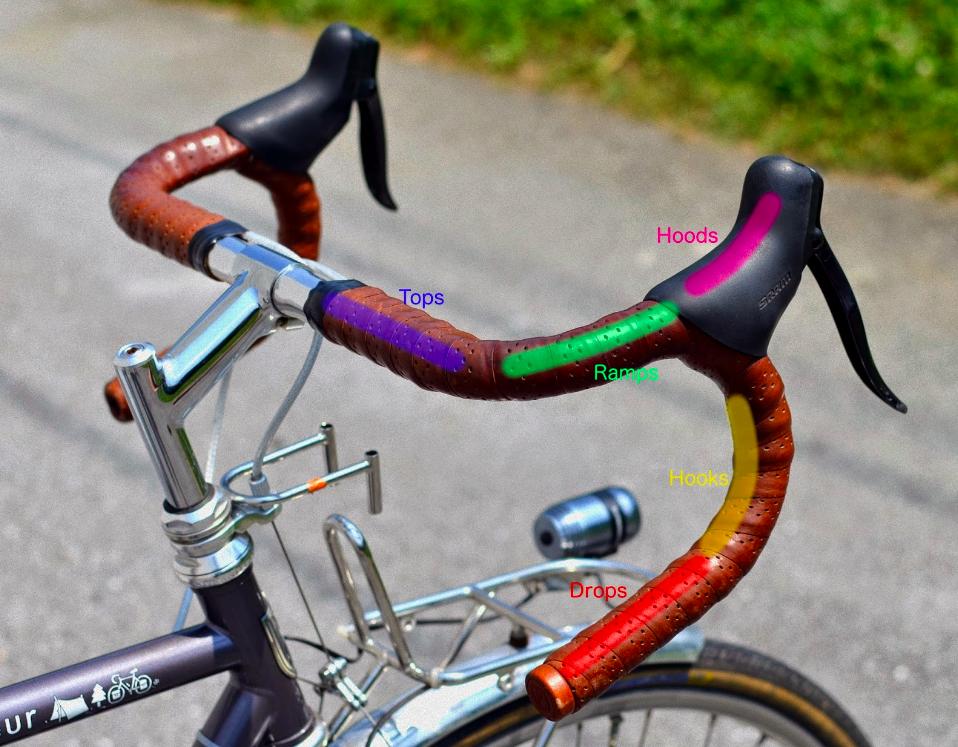
Step 2. You will want to position the flat part of the brifter hoods to form a straight line with the top flat section of handlebar (when viewed from the side of the bike). This gives your hands a nice even surface to distribute pressure on. In the example photo you included, you can see that the hood is slightly tilted down relative to the top section of the bar. That is not desirable.
Step 3. Look at the bars from above the bike. Some people position the brifter hoods to point straight forwards. However, it is more aerodynamic and often more comfortable, to rotate the brifters towards the center of the bike a bit. For bars with flare (like these) it will also help keep the levers more inline with the drops.
Step 4. Take the bike next to a poll or doorway where you can sit on the bike in normal riding position while supporting yourself from falling over. Putting your torso, arms and hands in normal riding positions, try the tops, hoods and drops positions. Adjust the angle of the bar relative to the bike until it feels the most comfortable in all positions.
Step 5. Tweak the brifter positions so they feel comfortable and you can access the brakes and shifting safely and comfortably from all positions. You might need to adjust your brifter to move the lever closer to or further from the bars (if it's adjustable, many are). Visually confirm the brifters are setup symmetrically by comparing them to the bars.
Step 6. Repeat the two previous steps until everything is comfortable and all controls are easy to reach and activate. Confirm the brake and shift levers can be pulled far enough to be effective.
Step 7. Tighten all bolts to the recommended torque. If you are using carbon parts, it is extra critical to get the torque correct using a torque wrench.
Step 8. Tape the cables into place (unless they are internally routed enough to not need tape). Do not tape the bars yet. Make sure that the cables are routed correctly and the fork can rotate freely all the way left and right.
Step 9. (Optional) You could take the bike out for a test ride at this point to confirm your setup is how you want it. If you do, you will need to ride bare handed as gloves would be far too slippery on bare metal. Also make sure the ride is in a safe place. Try your different positions on the bike, including standing on the pedals.
Step 10. Wrap your bars in tape. This can be tricky, so consult other sources for details. But make sure that you keep consistent tension and spacing on the tape. It's best to practice a few times before using the adhesive. The area around the brifters is especially tricky. If you haven't already bought the tape, it's recommended to use tape that is easy to rewrap, though it tends to cost a bit more.

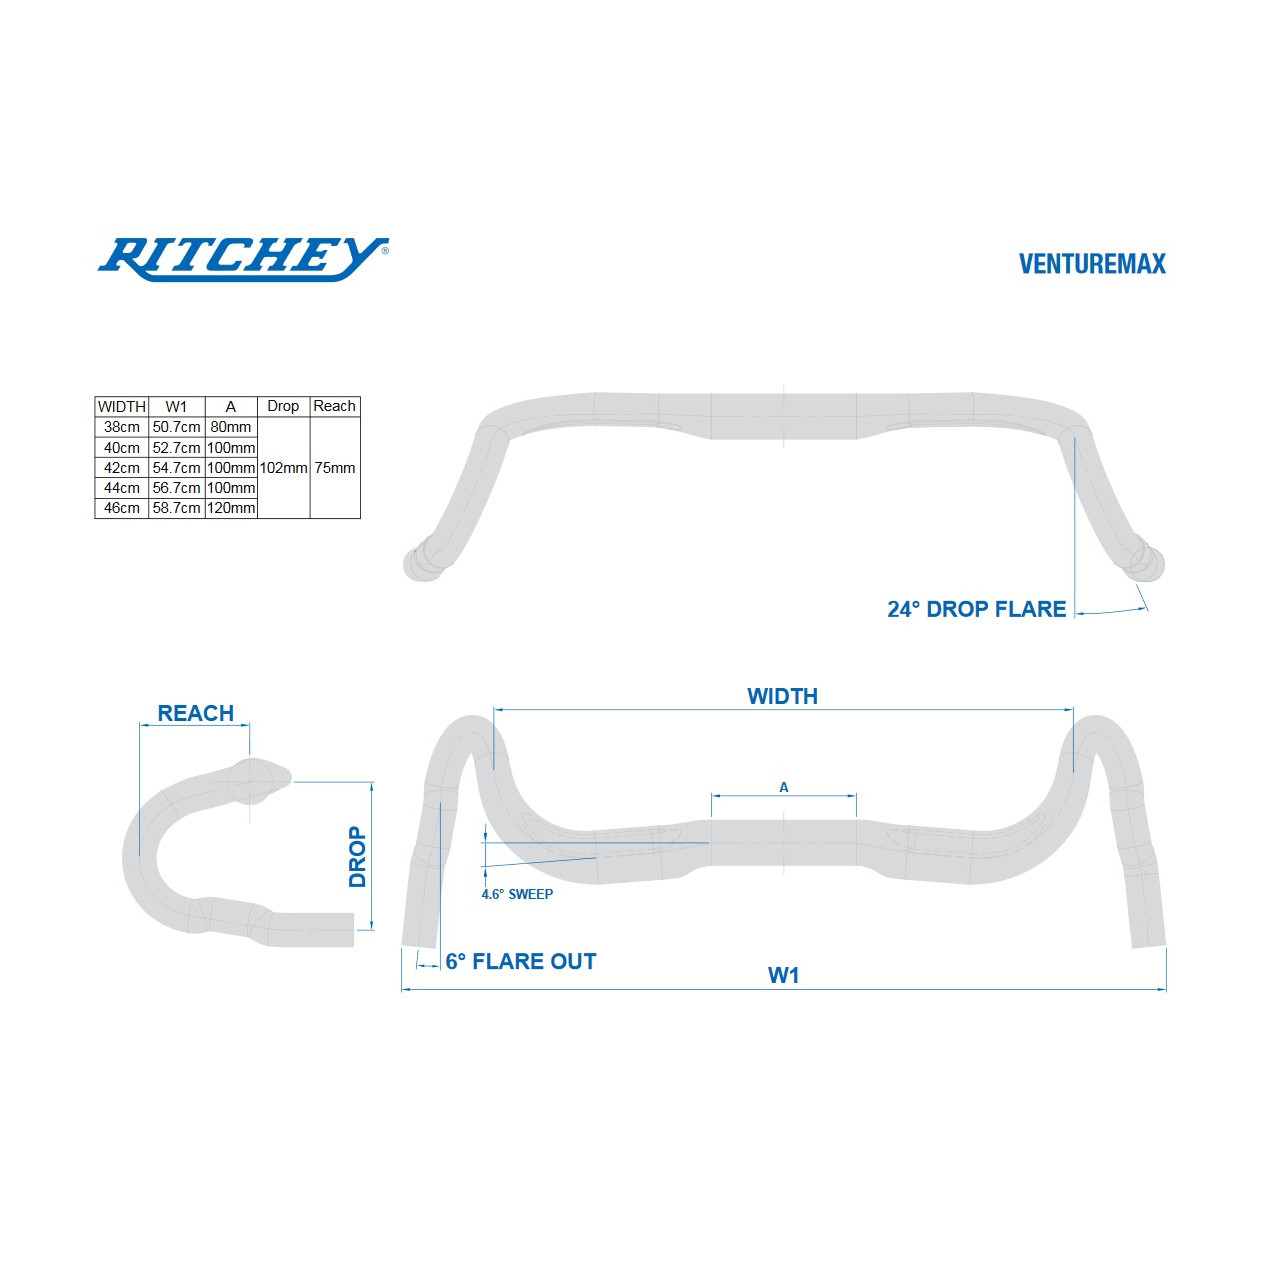
 This is of course completely different from the "recommendations" of the manufacturer and I do not know which arrangement will be more correct? It is a pity that the Ritchey has not created a manual in which basic information on how to set everything up so that the whole thing works properly. I would not like to replace the wrap tape because my setting was incorrect and correction is impossible.
