I have a Shimano freewheel (MX-30) that came with my bike from new. Unfortunately the internals got all gunked up and it stopped working (never engaged and became free both ways). I have bought and fitted a replacement part, but I would like to know how I should lubricate / maintain the freewheel so that this does not happen again.
-
This is a controversial topic. If you squirt any sort of sticky lube into the unit it will only get worse. The "official" solution is to take it apart (which is very tricky) and clean it, then gently relube with the right stuff (which I think would be a thin "white grease"). There are (or used to be) special tools available that claimed to be able to relube an assembled unit -- dunno if they work. (And, in general, a freewheel/freehub should not require service, unless flooded or subjected to severe weather exposure.)– Daniel R HicksCommented Jan 7, 2013 at 16:51
-
I'd like to add that I have a 1986 Peugeot with a freewheel. Got it back in 2009. When I got it, it had not been ridden much, but had been left out in the weather, etc., and the freewheel was not operating well. A little ATF as described below, and bingo... works great now. And I have put just under 1500 miles on that freewheel to-date.– Zippy The PinheadCommented Jan 8, 2013 at 19:51
-
Generally, you should probably chuck out the freewheel and get a new one when it breaks. They are limited wear items, after all.– BatmanCommented Mar 17, 2014 at 22:46
-
A warning. I recently serviced the axle of an FH-M475. When re-assembling, I greased the bearings (not capsulated) with generous amount of thick grease. After reinstalling all dust covers and tightening the cassette to 40Nm... the freewheel wouldn't turn any more! The less than perfect solution was to remove one of the dust covers, which was pushing the grease inwards like a hydraulic piston.– VoracCommented Mar 18, 2014 at 12:07
2 Answers
I love ATF (Automatic Transmission Fluid) for freewheel (not free hub) lube. What I do is lift the bike-- if someone can help you with this, it's a bit easier-- so that you can rotate the pedals (and make the back wheel spin). Ideally, the bike should be tilted to the non-drive side about 45-60 degrees. With the back wheel rotating, you can see where to lubricate. As Sheldon puts it:
Look inside the smallest sprocket. The sprocket will be stationary, since the wheel is coasting, but you'll see an inner part of the freewheel that is spinning with the wheel. Drip oil onto the crack between the turning part and the stationary part. Gravity and capillary action will help work oil into the freewheel.
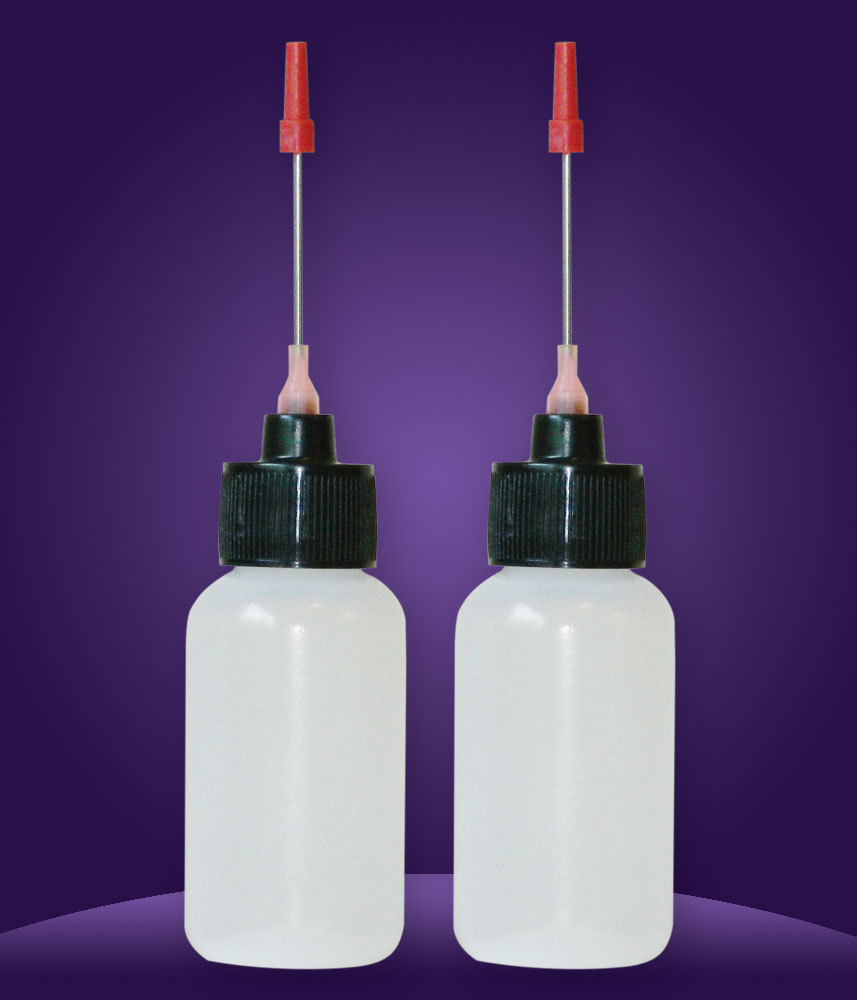
BTW, thought I should add what I keep my ATF in for cycling purposes. I have some old plastic bottles that once held printer ink. They look similar to this:

-
I use ATF for freehubs as well. It works great!– user26705Commented Jul 8, 2016 at 20:06
I have repaired my Shimano free wheel or other like it and I will tell you how. An effective way to check or repair the inside of the free wheel is to learn first how to assemble and disassemble it and here is the video how
A large magnet will help catch the tiny buger sized bearings if carefully placed under the freewheel while loosening the lockring.
If no spanner tool is available you can use a hammer and a pointless concrete nail (use your imagination to figure out how to make the concrete nail less pointy using the hammer).
To open it with hammer and concrete nail, place the pointless nail in the shallow hole in the lockring pointing downward close to 45 degrees, then gently tap it rapidly with the hammer. Remember the lock ring loosens at clock wise. Just loosen it but don't remove the lockring completely yet or else removing the freewheel impatiently will scatter buger bearings all over the floor. The overall number of those bearings is less than 60 I guess. After loosening it only enough to be removed by dialing it like a rotary phone place the magnet under the freewheel. You can now remove the freewheel (BE AWARE THAT THE BEARING MIGHT SCATTER LIKE A BIG BANG THEORY)
Place it in the table with a towel, remove the lockring, spray it with WD 40 then magnet the bugerbearings on the top. Remove the thin spacer then the spring and sprawls, soak them in WD 40 or kerosene. Wipe it clean. After ALL the free wheel parts are completely free of any liquids and dirt you can now put the grease in. This has to be a Grade 3 lithium grease. Make sure all the internal parts are covered in grease not too thin and not too thick – make sure that the parts can move freely (because too much grease will make the sprawl stick to the inner freewheel and prevent it to do its function) after properly placing the sprawls and springs and spacer. For the bearings you already know where to put them the problem is just, how.
With your index finger and thumb greased pick up the new bearing and roll it like a buger to cover it in grease then stick it to its rightful place in the bearings.
With all the bearings in place put it back in the external freewheel. While forcing the internal freewheel in, rotate the outer freewheel clockwise so the sprawls would not interfere. Just put in the spacer, tighten the lock ring and there you go.
If you want to me to make detailed video email me [email protected] I will make it really short and really detailed as possible.
