1

The typical advice is to put down the rim, find the hole for valve and compare two adjacent holes which one is "higher" and which one is "lower" one (the counterclockwise hole should be higher).

The problem is with my new purchase I cannot tell the difference (maybe it is due to the fact so far I used 26" rims, now I have 28" and the distances are tad bigger between holes). I look once and I see pattern, I take a look again with different angle and I see the opposite pattern.

So, is there some reliable way to measure the difference and tell which hole is higher/lower? I would need this for my purpose but also to convince the shop they sent me incorrectly drilled rim (in correct one you have almost parallel spokes over the valve, in incorrect one the spokes are more angled making less space when using the pump over the valve).

Important note: Here and in general I am interested of testing new rims, so I cannot in any way change them or even fully unpack (i.e. remove the thin protective wrap which manufacturer glued to the rim), so if the rim is incorrect I could send it back and the return will be accepted.

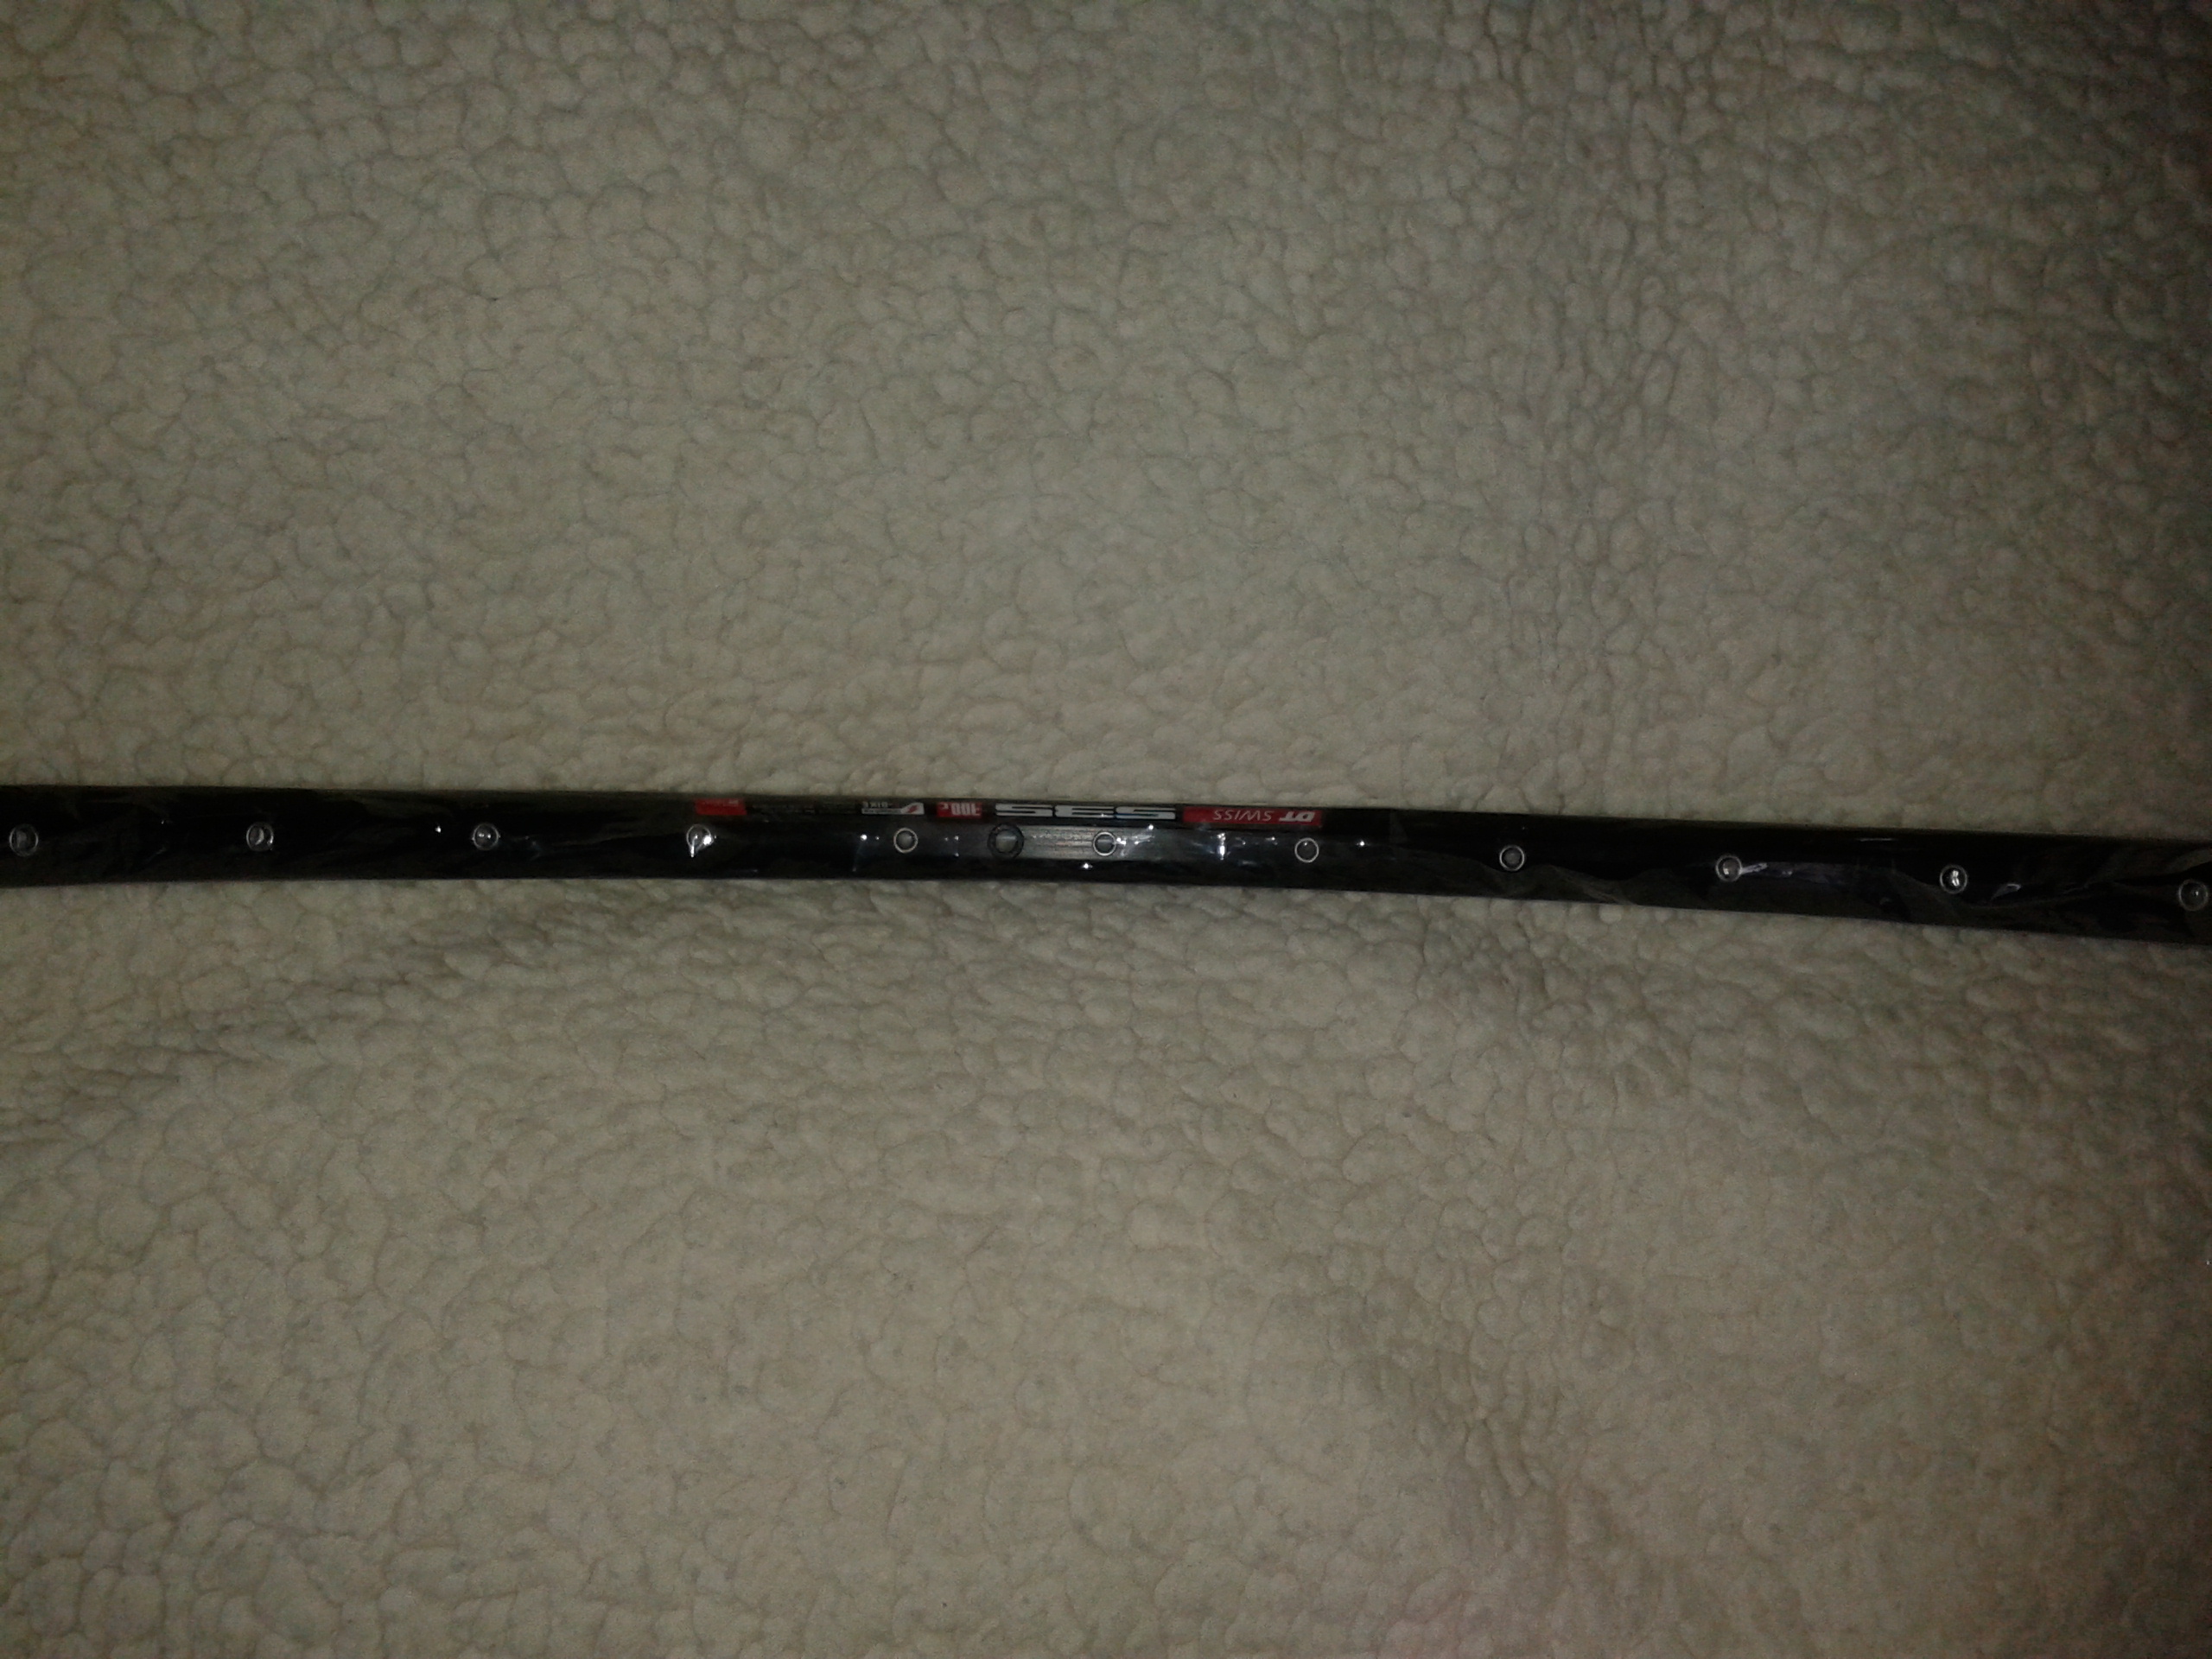
The rim is DT-Swiss 535 28" and all I did so far is I took it out from the package. I looked it from the inside and from the outside as well -- but after first "reading" I also rotated rim by one hole and the previous reading was contradicted by the new one (the holes should be in high-low-high-low-... pattern) because I saw the same pattern. In short, I cannot rely on my eyes.

My rim (DT-Swis 535

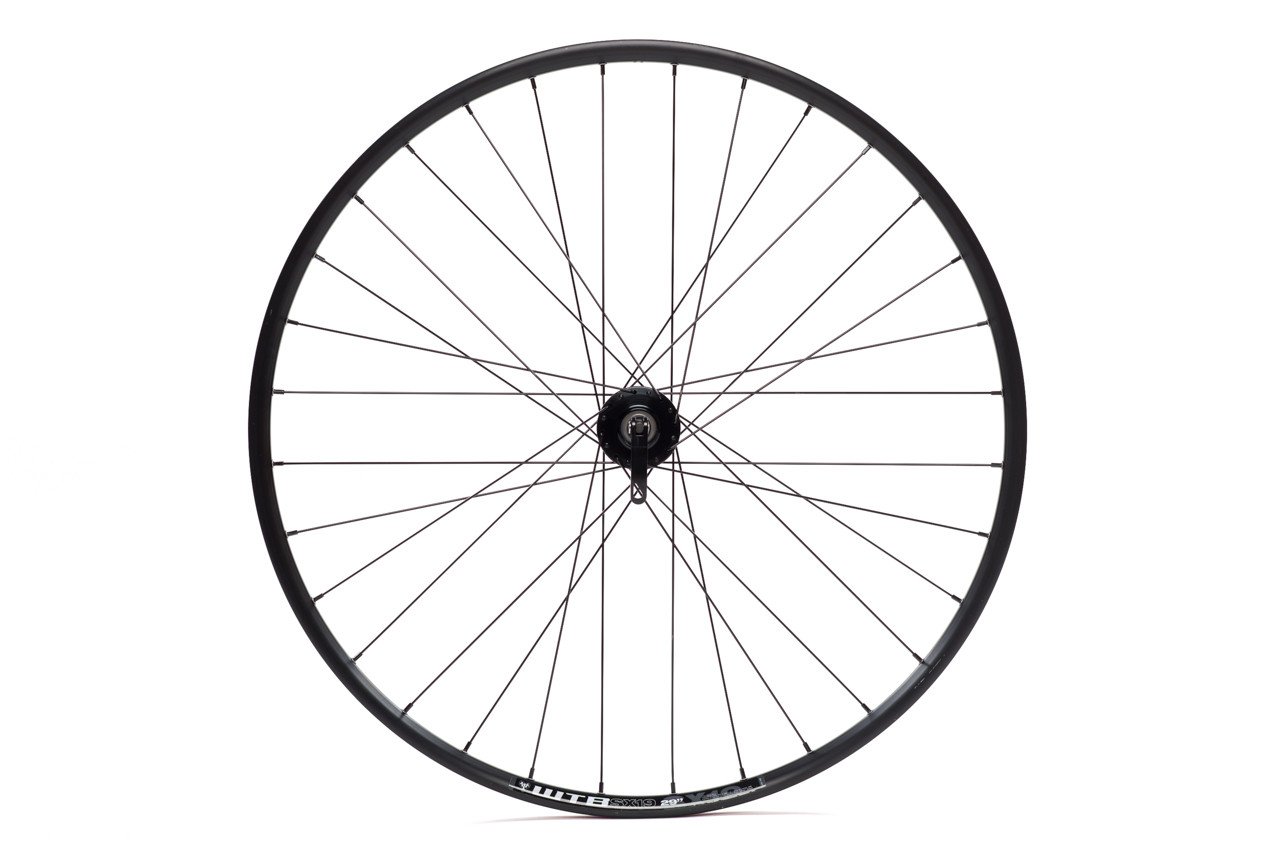
This is just an example of spoke crossing. The perfect rim would have valve at (for example) 12 o'clock, between parallel spokes.

Spokes crossings

6
  • 1
    Which rim it is? Can you post a photo?
    – ojs
    Commented Dec 15, 2018 at 9:25
  • @ojs, DT-Swiss 535, I could send a photo, but I am looking for method to tell this by my own (also in future), not just to tell if this particular rim at hand is correct or not. Commented Dec 15, 2018 at 10:17
  • 1
    If you add a photo and describe what you’ve done so far (are you transferring a new rim to existing wheel?) then it might be easier to answer...
    – Swifty
    Commented Dec 15, 2018 at 11:20
  • Also, which side of the rim are you looking through- From the inside or from the outside?
    – Swifty
    Commented Dec 15, 2018 at 11:21
  • @Swifty, ok, I updated the question. Commented Dec 15, 2018 at 12:10

2 Answers 2

1

It looks like the holes are quite close to centerline of the rim, but the rim profile has an angle that can be used as reference. So, here are my suggestions:

  • Use a vernier caliper to measure the distance from eyelet to the angle. Measure both to both sides, and several eyelets.

  • Arrange lights so that the flat center part is highlighted, like in the photo but so that the highlight covers several eyelets. Take a photo, zoom in and count the pixels to both edges of the highlighted area.

Finally, when you know how the spoke holes are arranged, you can always build the wheel so that the spokes are not crossed over the valve. Just start at the valve and choose the side for first leading spoke so that they match the rim, or choose the side first and spoke hole that matches the side second. Note that spokes from the same side are two holes apart, and you need to have spokes from both sides not cross at the valve.

9
  • +1, thank you. As for the building, do I correctly understand you that your advice is force-take the leading hole for spoke even if it is the incorrect hole (more distant)? This would of course allow me to have parallel spokes over the valve but I would be connecting spokes to the other side holes of the rim. Sure, slightly, but still... :-) Commented Dec 15, 2018 at 14:35
  • I don't really understand how you are figuring wheelbuilding. There are no leading and trailing holes on the rim, just left and right ones. The rim drilling decides whether the leading spoke next to valve is on the left or right.
    – ojs
    Commented Dec 15, 2018 at 16:19
  • As for wheelbuilding -- for example the same way Zinn describes it in his book. However if the rim decides where to place the leading spoke (as in the book) the possible outcomes are two: perfectly built wheel or the rim with spokes crossed somewhat over the valve. Thus I consider the second outcome, or rather the rim, as incorrect one. Commented Dec 15, 2018 at 16:35
  • I don't have the Zinn book, could you describe how he explains it? If you read for example Sheldon Brown's instructions at sheldonbrown.com/wheelbuild.html, it is explicitly mentioned that rims may have the holes drilled at different orientations. Look for the paragraph starting with Rims are drilled either "right handed" or "left handed"
    – ojs
    Commented Dec 15, 2018 at 16:43
  • 1
    You shift the other side in the opposite direction. Lennard Zinn's instructions are sometimes difficult to understand, try using Sheldon Brown's version instead.
    – ojs
    Commented Dec 15, 2018 at 18:58
1

I remember well the mental confusion of re-lacing my first and second wheels. If you step back and take a deep breath and look at an already laced wheel, it will help. It can be a 26 27.5 or 29 inch wheel. It can be a 28, 32, or 36 spoke wheel. Lay it beside your new Swiss rim. I am right now looking at a rim I re-laced. It is a DT Swiss 520 SL from my 29er and looks just like your 525 picture. You can trust your eyeballs. Just look at the radius on the rim closest to the spoke hole. On my 32 spoke rim there are 16 holes crowding the radius on each side of the rim. All holes are equally spaced. The valve hole is drilled exactly between the two spoke holes opposite of the rim weld or splice by convention. (However, it can be drilled exactly between any 2 spoke holes - I ruined a valve hole on my good old Giant AC 1 by using a Stan's valve in a genuine tubeless rim and pulled it through. Couldn't get it to seal. I closed the damaged hole with a strip of Stan's yellow tape and re-drilled the hole 4 holes away between parallel spokes and used a Mavic tubeless valve, and it works perfectly). My point is only that a valve hole can't be mis-located (except on an asymmetric rim side to side. All spoke holes are identical. This is just a lacing issue. I can't explain the lacing process better than the printed materials you have. I can say erase your preconceived ideas and look at a completed wheel. Visually move the valve 4 holes away to the next set of parallel holes and it will suddenly be clear. Your first few wheels will be a struggle, but then, you will be able to replace hubs, retension spokes, and be in control with huge cost savings. It is worth it. Have fun. Take your time and visualize the steps you are taking and mentally record why you are doing them. Quick things on that rim - note that it is symmetrical side to side. First- Because it is symmetrical, the spokes are different lengths by 2 to 3 mm?? Don't mix them up or you will run out of spoke threads in tensioning. I did and had to re-lace some. Second - MY DC SWISS WHEELS ARE ALL LACED DRIVE SIDE TRAILING THE VALVE FOR 1st SPOKE TO END UP PARALLEL SPOKES TO THE VALVE. (So are my Bontrager and Ryde wheels) I have only done 5 complete wheels. I am hoping my beginner's thought processes may help. What is automatic to experts is not automatic to us. My greatest problem was my unwillingness to back up when I thought I had learned something and it didn't work. Remember, If you lace it up and have angled spokes over the valve, it is still easy to add air and it will work just fine. Parallel spokes at the valve is just cosmetic and convention. Keep your wheel and dig in.

3
  • 1
    Thank you for the answer, I didn't fully catch what you are saying, but for the record I don't have problem with identifying valve hole or keeping it in perfect condition. As for parallel spokes it is not just a cosmetic issue for me -- it is a must have, the area between parallel spokes is my future workplace with pump so it'd better be comfortable. You build a wheel once, but you pump your tubes/tires many, many times. Commented Dec 16, 2018 at 8:32
  • Welcome to Bicycles! This site is a little different from a typical forum. The expectation here is that users give a detailed yet direct and factual explanation in each answer. It's also better if you try to stay directly focused on the actual question, and pay attention to formatting. Please Take the Tour for more information about how this and other Stack Exchange sites work.
    – Gary.Ray
    Commented Dec 17, 2018 at 15:07
  • sorry Green.. and Gary Ray - I provided a poor and long winded sample of how I got through my first few wheel builds using another wheel as a model. The only point I was trying to make is that the beginning spoke to end up parallel for that DT Swiss rim is the number 1 spoke hole is the first one before the valve hole on the drive side. All of the rest of my too long answer was to try to give you confidence for your first build. I will work on sticking to the subject. My other point was to not send the wheel back. It is not drilled wrong.
    – Cliff
    Commented Dec 17, 2018 at 17:31

Your Answer

By clicking “Post Your Answer”, you agree to our terms of service and acknowledge you have read our privacy policy.

Not the answer you're looking for? Browse other questions tagged or ask your own question.